
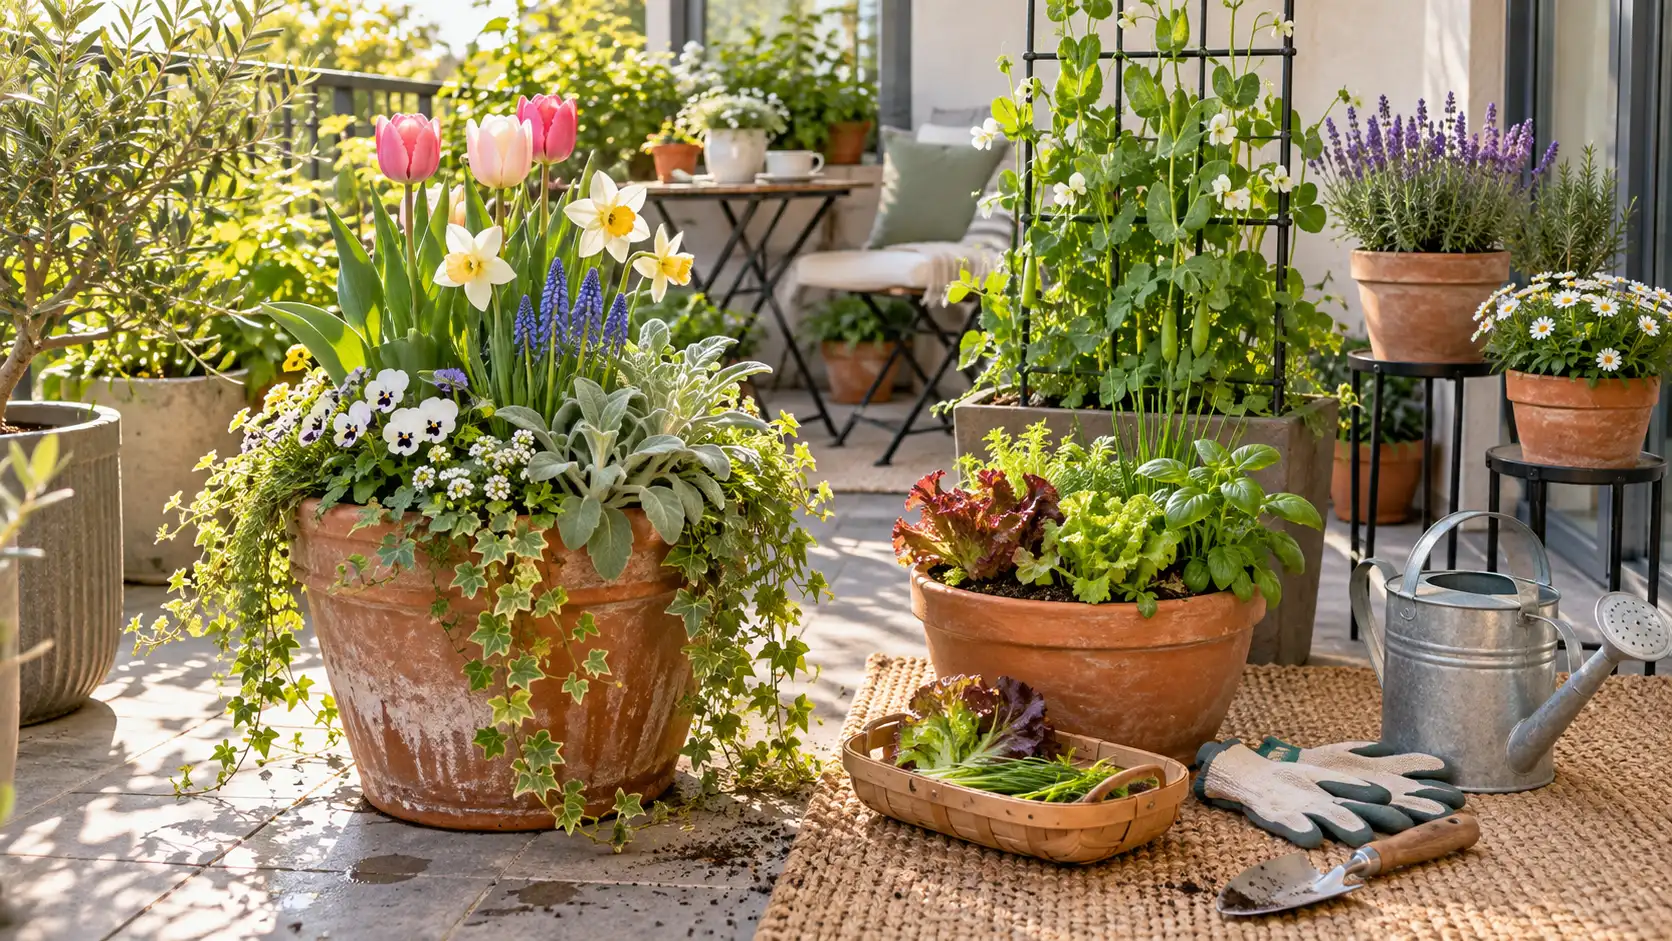
Spring containers have a way of multiplying. One pot goes beside the door, another lands on the patio table, a few flowers fill the steps, and suddenly you have plenty of containers but not much usable space.
A better setup makes each pot earn its place.
These spring container garden ideas use height, edges, layers, mixed planting, and smart placement to get more from every corner. Some combine flowers and edible plants. Others move growth upward so the patio, porch, or balcony floor stays open. The goal is not to squeeze plants together. It is to use the container more thoughtfully.
You do not need matching pots or a large outdoor area to make this work. Start with the light and containers you already have, leave enough room for plants to grow, and choose combinations that are easy to water and reach. A few well-planned spring pots can look fuller, feel less cluttered, and give you far more from the same small space.
1. Layer Tall, Mounding, and Trailing Plants in One Spring Container
A single pot can feel much more complete when the plants occupy different levels instead of all sitting at the same height.
Place an upright plant toward the center or back. Fill the middle with something lower and rounded, then let one trailing plant soften the rim.
Think of the container in three layers:
- Tall: gives the pot structure and height
- Mounding: fills the middle without hiding everything
- Trailing: uses the outer edge and softens the container
Leave visible soil between young plants. The container does not need to look packed on planting day. A little open space makes watering easier and gives spring growth room to settle naturally.
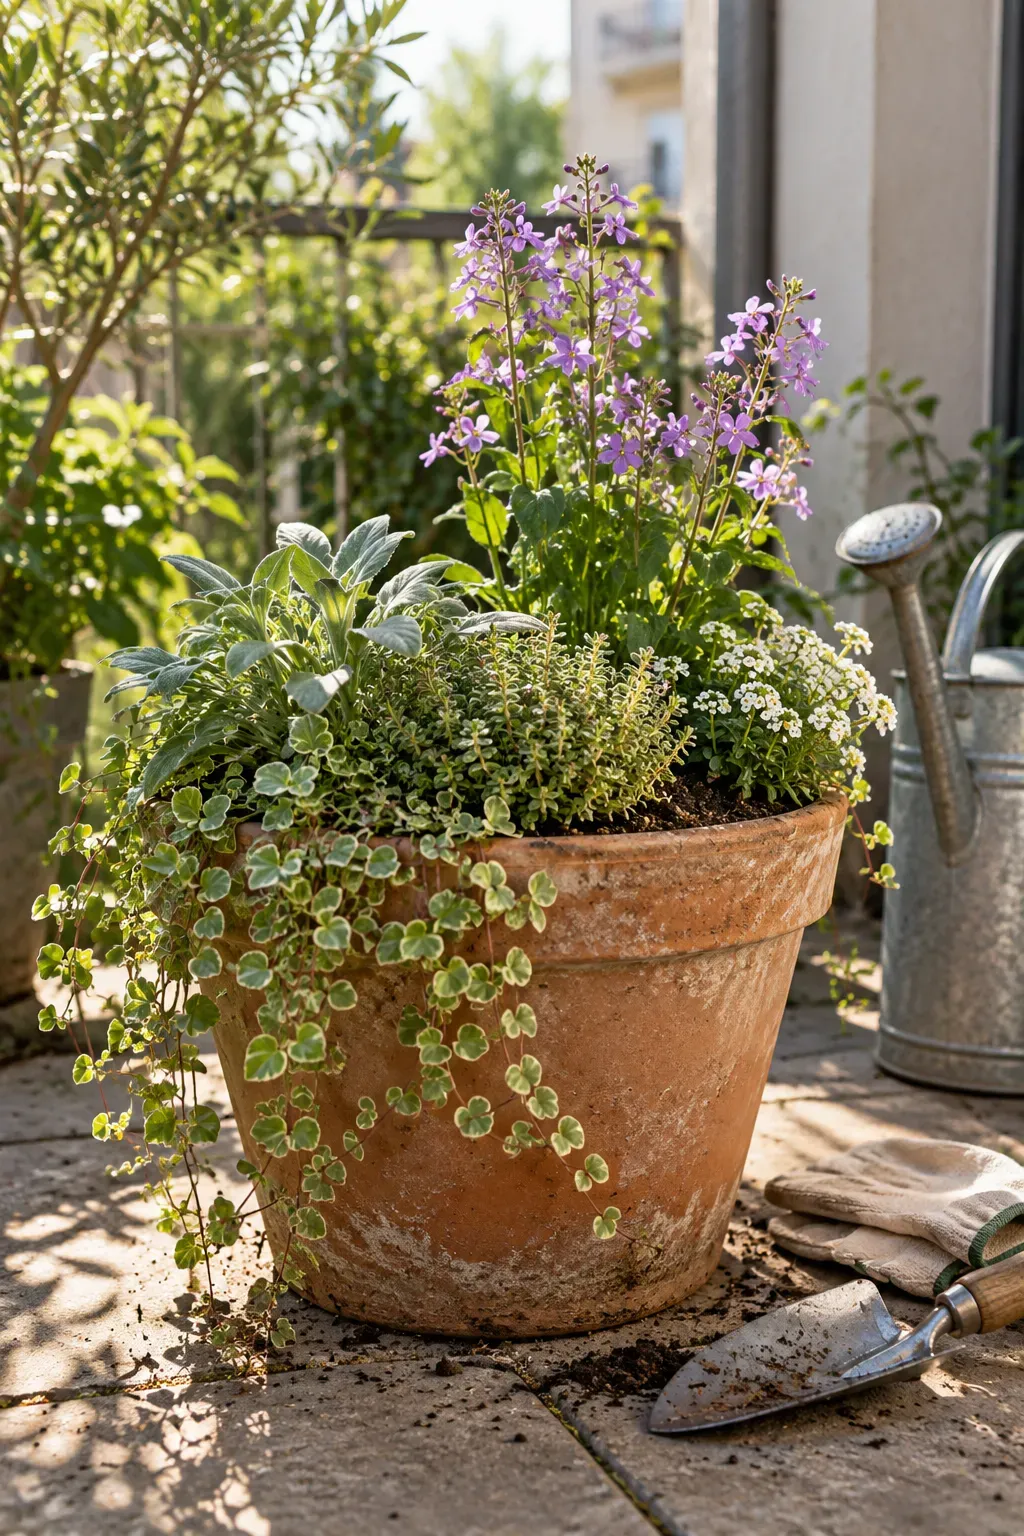
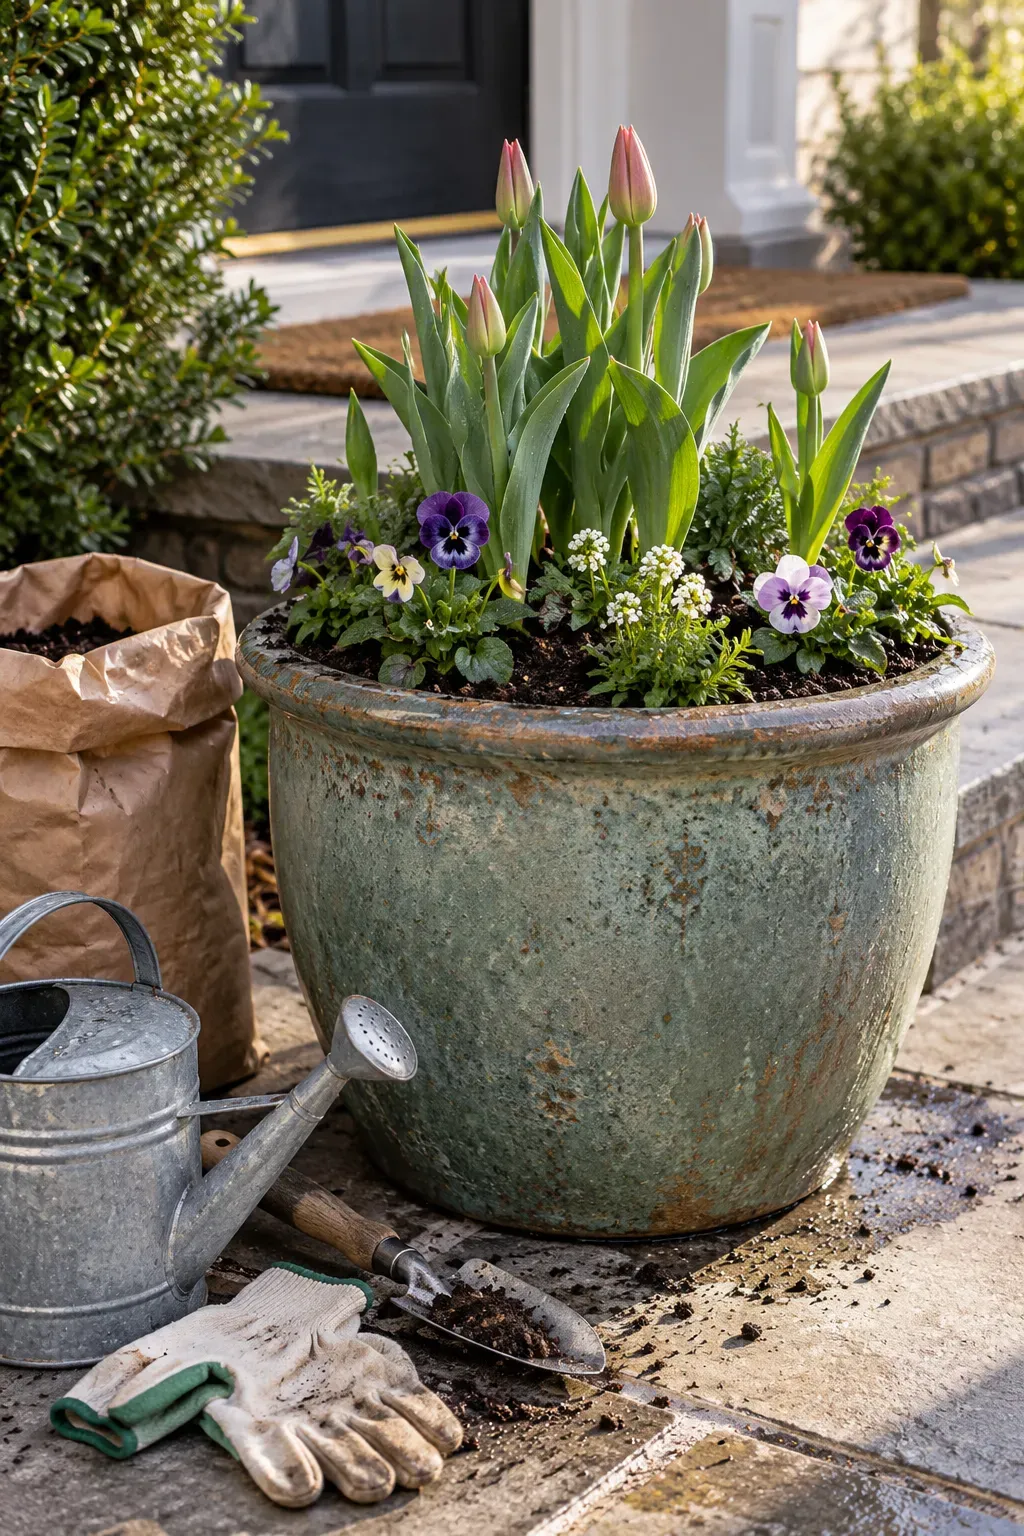
2. Layer Spring Bulbs and Cool-Season Flowers in a Deeper Pot
A deeper container can hold more visual interest when the planting is planned in layers rather than spread across several small pots.
If you are working with bulbs that were planted earlier or pre-sprouted bulbs ready for a container, keep their growing space below and add cool-season flowers nearer the surface. The top planting can provide color while the bulb foliage adds another height and shape.
Use a simple order:
- Prepare the deeper planting area.
- Add growing mix above it.
- Position the upper plants without packing them tightly.
- Leave enough open soil for easy watering.
Choose plants that suit the same general light and moisture conditions rather than combining them only because the colors look good together.
Prepare the deeper layer first so the lower planting is not disturbed later.
Add enough growing mix to create a separate upper planting layer.
Space surface flowers so emerging foliage still has room to move through the container.
Keep a visible watering area instead of covering every inch of soil.
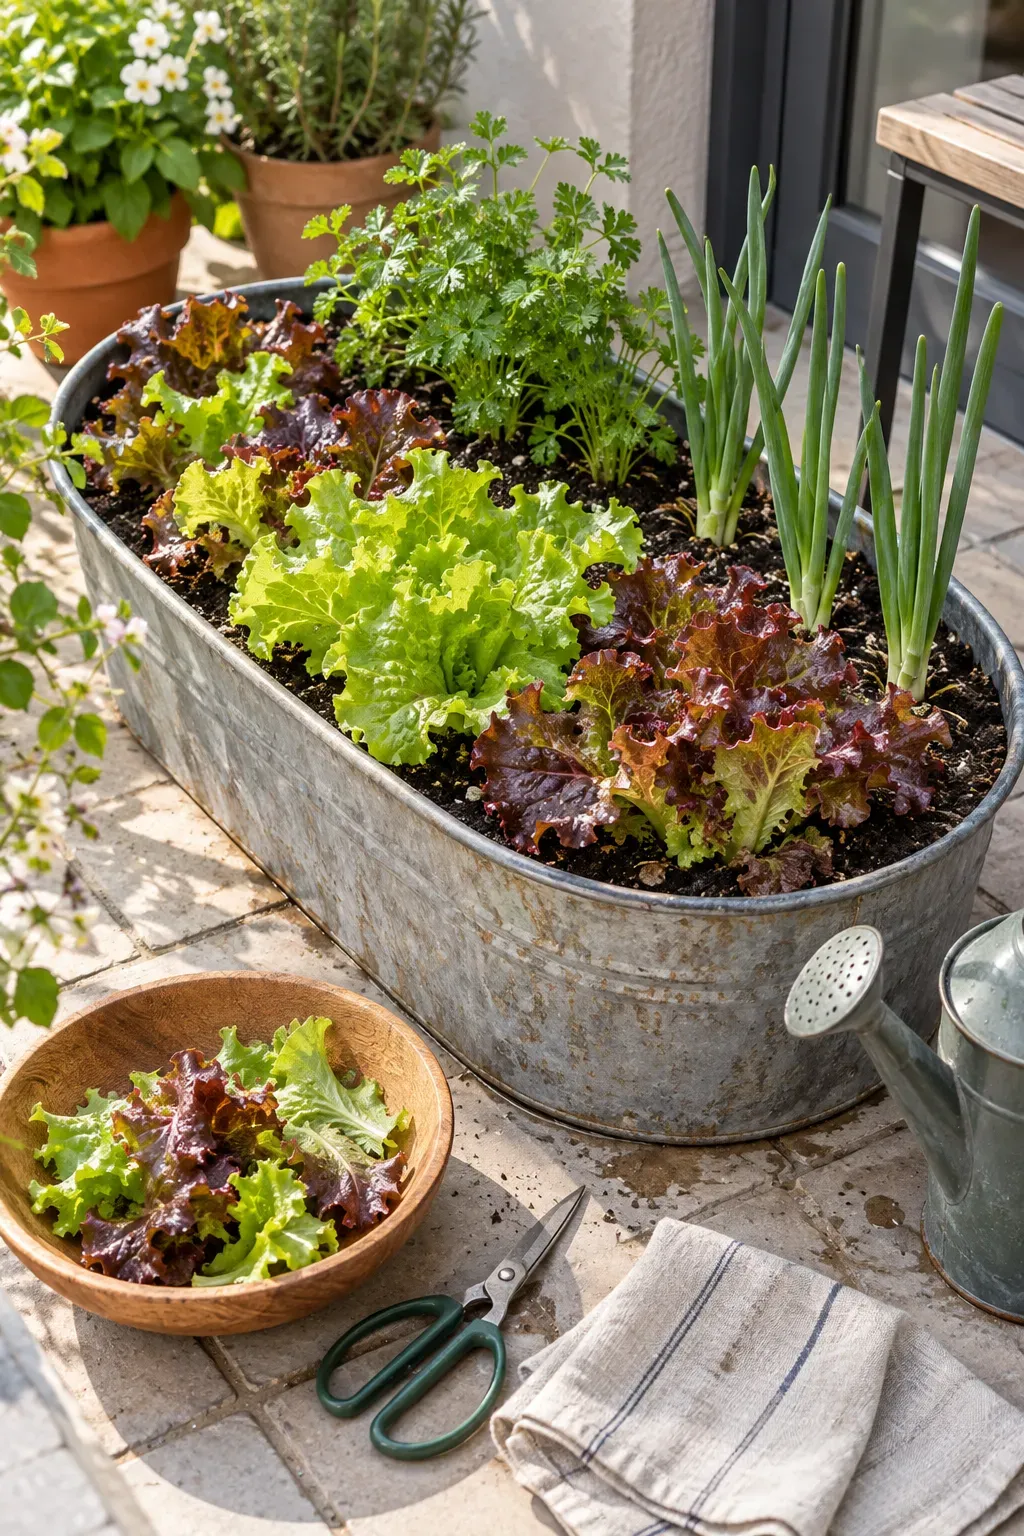
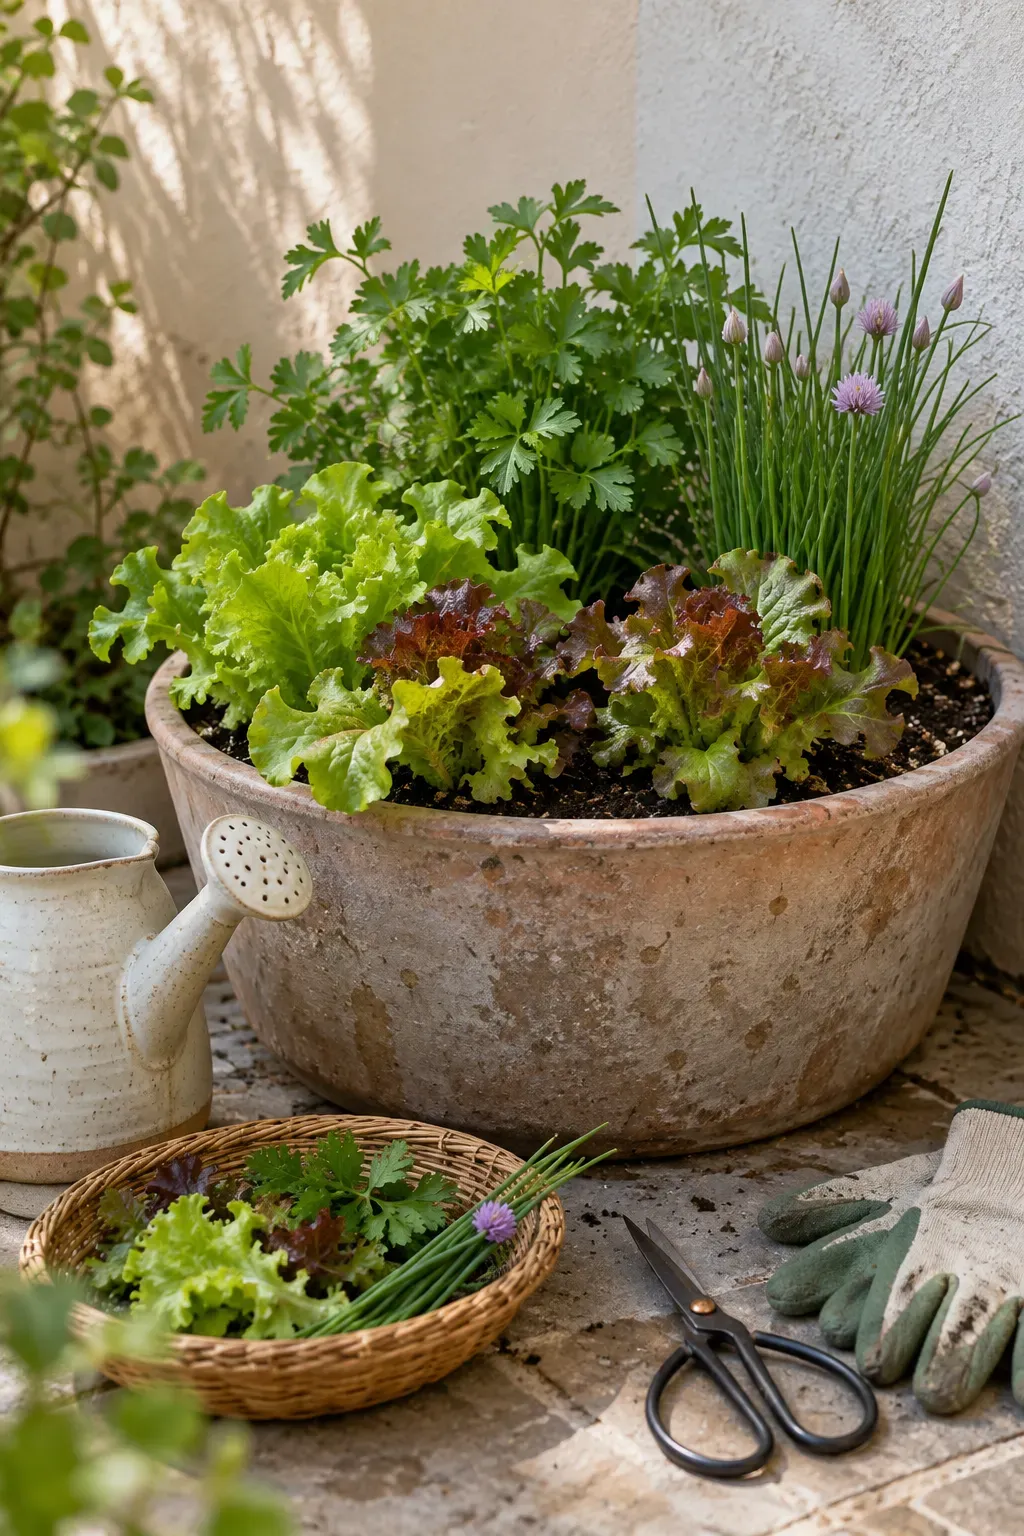
3. Turn One Large Pot Into a Mini Spring Salad Garden
Several little pots of greens can take up more room than one well-planned salad container.
Use a broad planter for loose-leaf greens, then place a few upright green onions or a compact herb around open areas. Keep the plants loose enough that you can still see the soil and reach individual leaves.
A useful layout is simple:
Front: greens you harvest often
Edges: narrow upright plants
Back: slightly taller herbs that will not hide the whole container
Combining compatible crops also makes everyday care easier because watering and harvesting happen in one place. One roomy salad pot can be much less awkward than a row of small containers scattered across the patio.
Several little pots hold a few greens and herbs while using a surprising amount of usable floor space.
One roomy container keeps compatible salad crops together while leaving more open space around the garden.
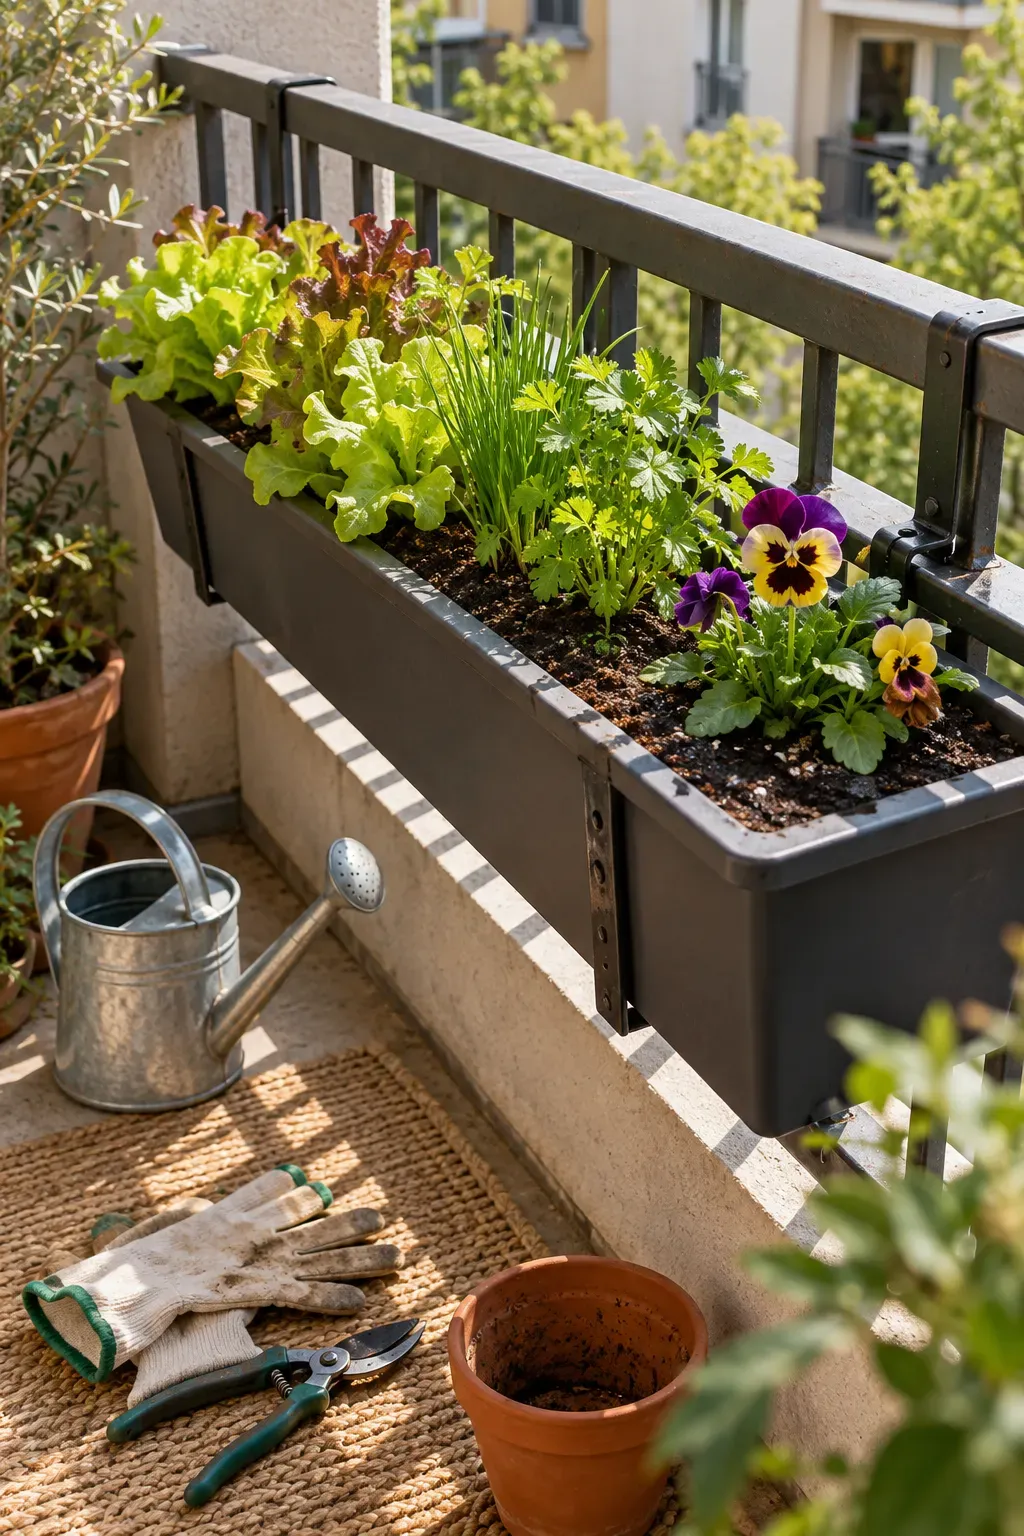
4. Fill Railing Planters With Lettuce, Pansies, and Compact Spring Herbs
A railing planter can provide seasonal color and useful greens without claiming another patch of floor.
Keep the combination restrained. Loose lettuce gives you soft leafy growth, a compact herb adds something useful for the kitchen, and a few pansies can provide spring color around the gaps.
The box should still be easy to maintain.
Before filling it, check that the planter is securely supported. Keep enough soil visible to make watering simple, and avoid cramming plants tightly along the whole length.
A railing planter should save space, not create extra work. Three well-chosen plant types are usually easier to manage than a crowded mixture of everything available at the garden center.
💡 Railing Planter Tip
Use a secure inside-mounted box where possible, then keep the planting simple enough that you can reach the soil, trim leaves, and water without leaning awkwardly over the railing.
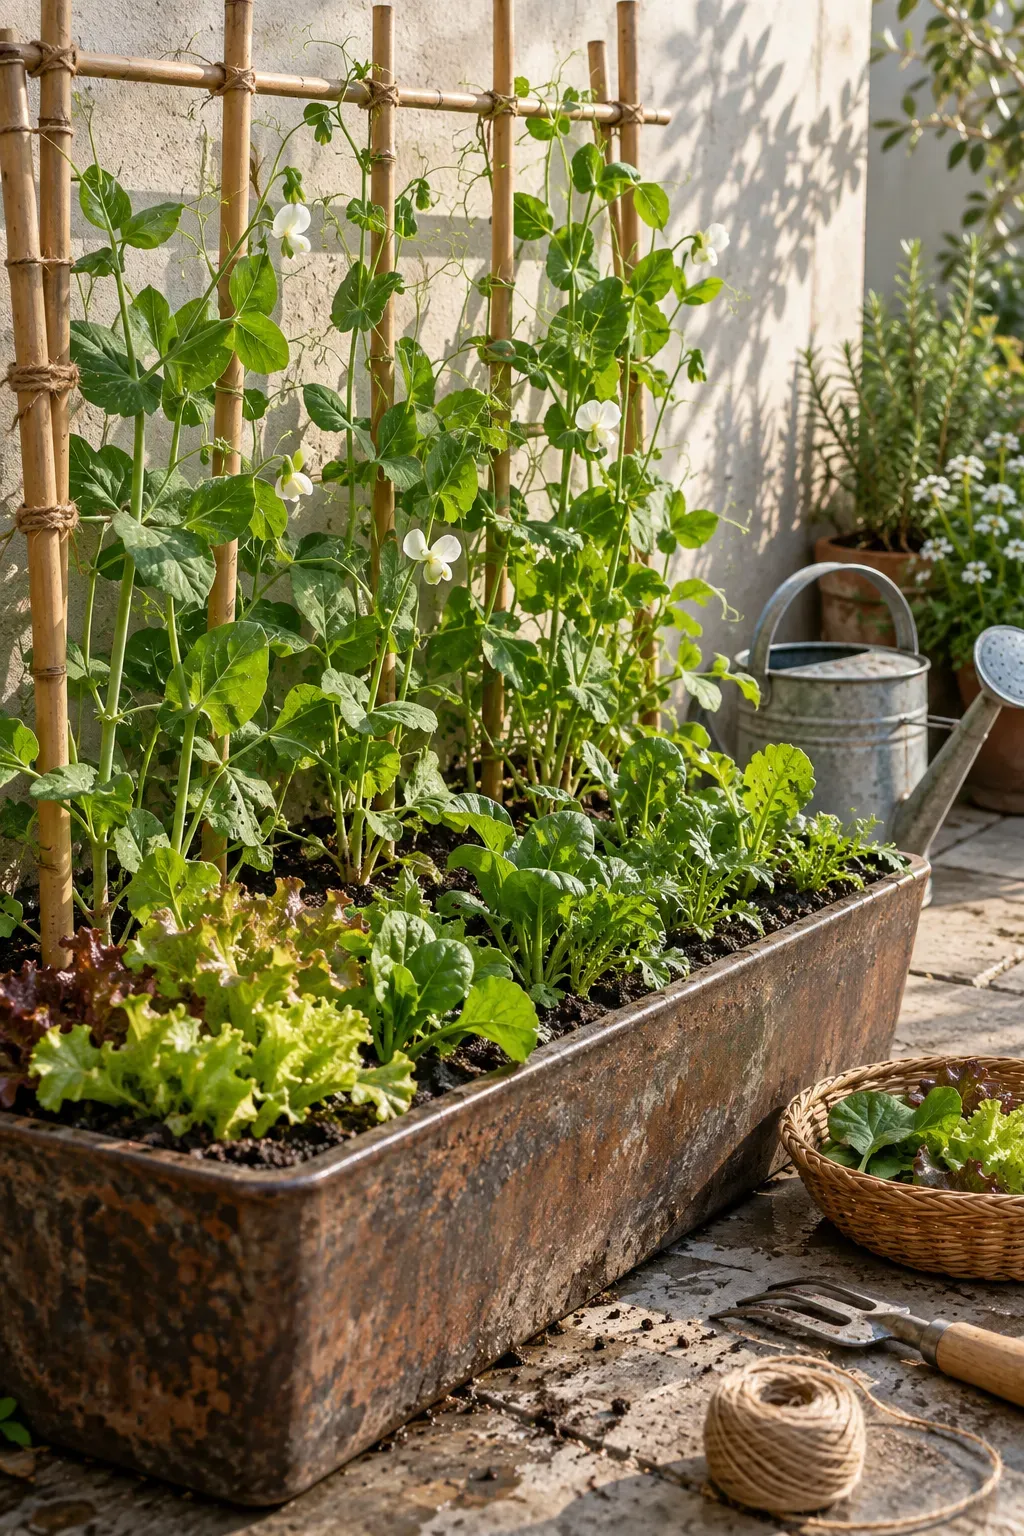
5. Plant Peas at the Back of a Container and Greens Around the Base
Peas give you a useful way to grow upward while shorter spring greens use the soil below.
Place the climbing support toward the back of the container, then keep lettuce or other low greens toward the front and outer areas. This lets the two plant shapes occupy different parts of the same space.
Do: give the peas a stable support and keep shorter greens within easy reach.
Avoid: packing seedlings directly around the pea stems or covering every patch of soil.
The container should still have an open watering spot. If the front plants become shaded or crowded as the vines grow, harvest or thin them rather than letting the whole pot turn into a tangle.
Put peas and their support toward the back so most of the growth travels upward.
Keep lower greens near the front where they remain easy to see and harvest.
Do not pack short plants tightly around pea stems or fill every visible gap.
Avoid a loose trellis that shifts once the vines become taller.
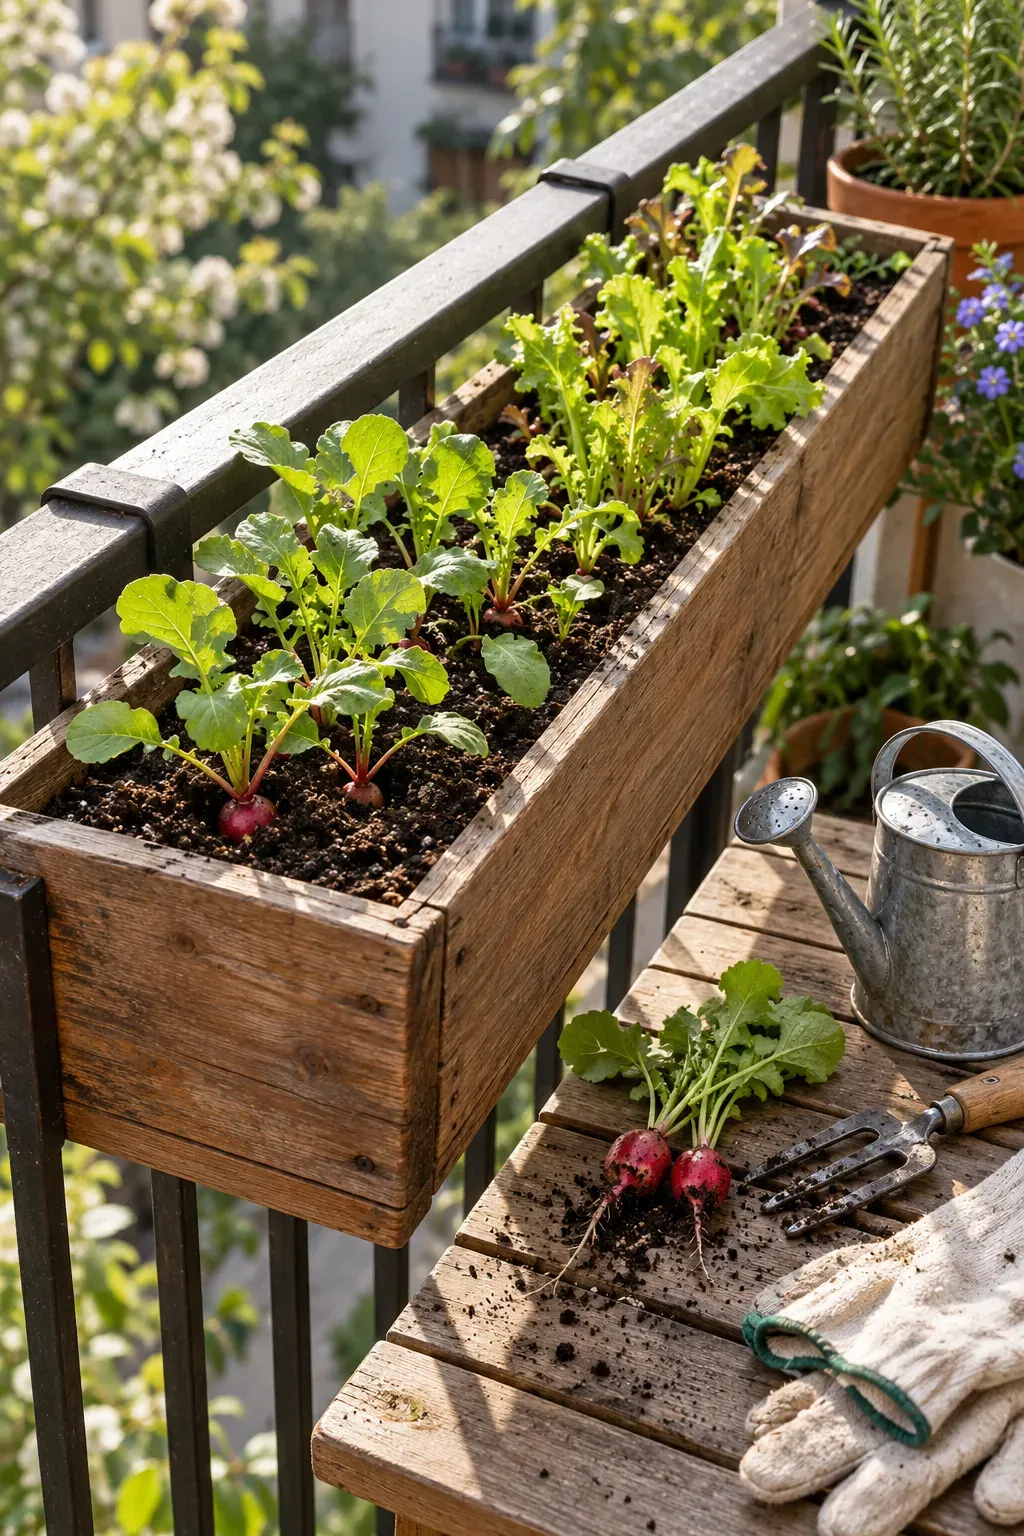
6. Use a Narrow Window Box for Radishes and Quick Spring Greens
A window box can hold more than flowers. Its long, narrow shape works well for small spring crops that do not need a huge footprint.
Use one section for radishes and another for quick leafy greens, keeping enough space between the two areas to make thinning and harvesting easy.
Before planting, check four things:
- The box has working drainage.
- The depth suits what you want to grow.
- You can reach the whole planter comfortably.
- Water will not drip where it causes problems.
A narrow planter works hardest when every section has a clear purpose instead of becoming one crowded strip of seedlings.
Before you plant the window box
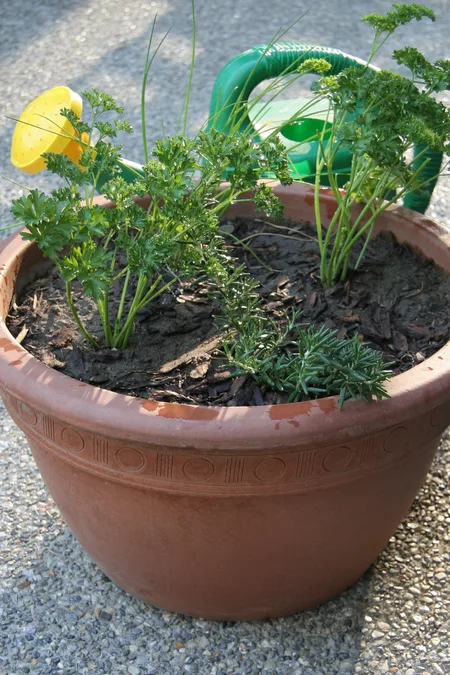
7. Build a Spring Herb Pot With Plants You Actually Cook With
A herb container is most useful when it holds plants you reach for in the kitchen, not whatever happened to look pretty at the garden center.
Choose a few herbs with similar growing needs and give each one enough room to stay distinct. Keep frequently used herbs near the front so you can snip them without reaching through taller growth.
A practical mix might include:
One upright herb for height
One softer leafy herb for regular picking
One low-growing herb near the rim
Avoid cramming six or seven kinds into one medium pot. A smaller, useful combination is easier to water, trim, and keep healthy through spring.
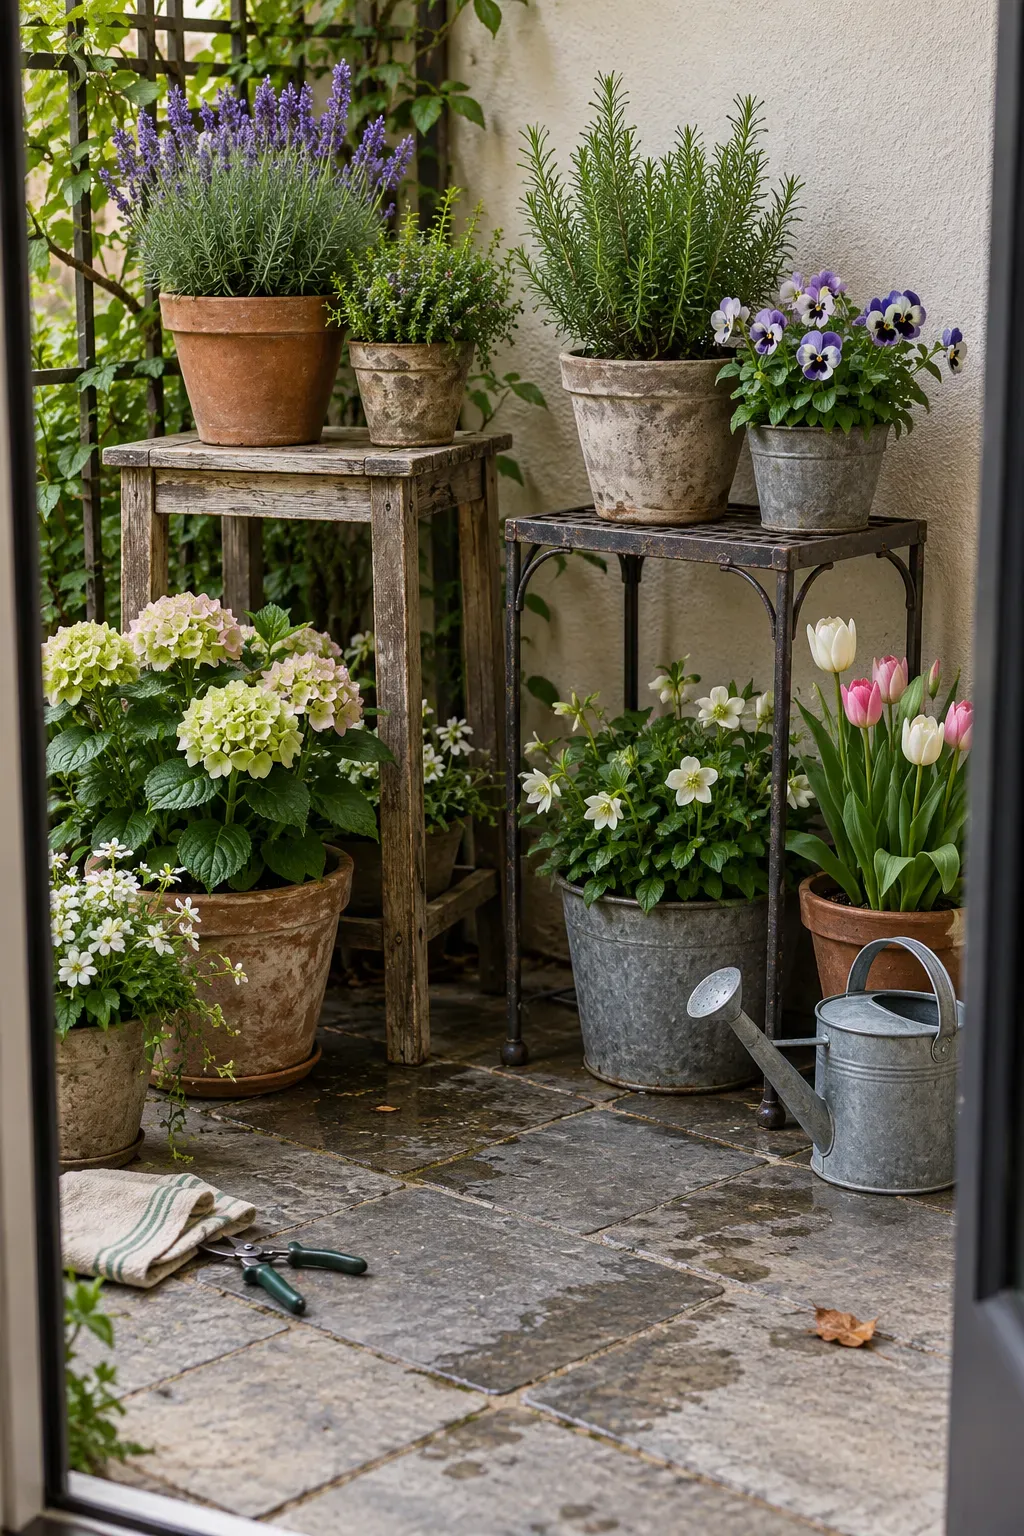
8. Raise Small Pots on Stands So Empty Vertical Space Starts Working
When every container sits directly on the floor, short plants can disappear behind taller ones and the whole area starts to feel flat and crowded.
A few sturdy plant stands can create levels without adding more floor space. Put smaller pots higher where they can still receive suitable light, then keep heavier containers on the ground.
This also makes some plants easier to reach.
The goal is not to build a tower of pots. Two or three levels are often enough to make better use of a wall, corner, or porch edge while keeping the arrangement stable and easy to water.
| All Pots on the Floor | Pots at Different Levels |
|---|---|
| Short containers can disappear behind taller plants. | Smaller pots gain height and remain easier to see and reach. |
| The arrangement uses mainly horizontal floor space. | Stands make use of open space above the floor. |
| Watering can require reaching around other containers. | Well-spaced levels can make individual pots easier to access. |
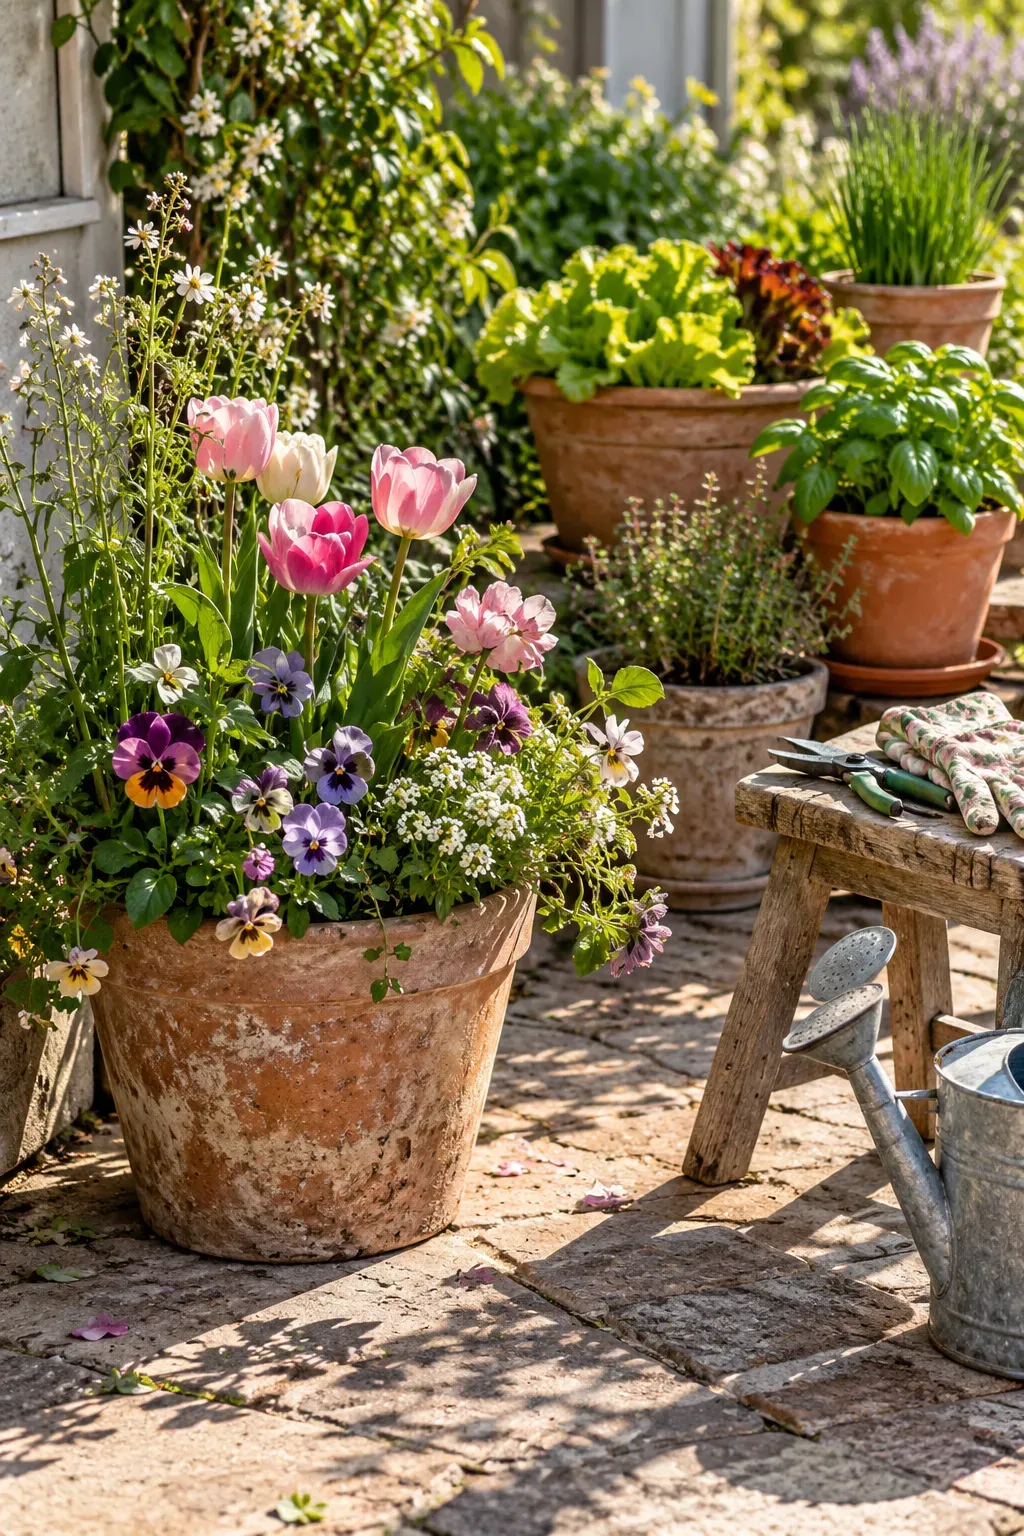
9. Plant a Pollinator-Friendly Spring Pot Near Your Vegetable Containers
A flowering container can do more than brighten an empty corner. Placing suitable spring flowers near edible containers can add another layer of activity and color to the garden.
Keep the flower pot separate from vegetables that already need all their root space. This also makes it easier to move or replace seasonal flowers without disturbing food crops.
Choose a location that receives appropriate light and where blooms are easy to see and maintain.
Think of it as a companion container, not filler. One dedicated flower pot can soften a vegetable-heavy setup while keeping the productive containers organized and uncluttered.
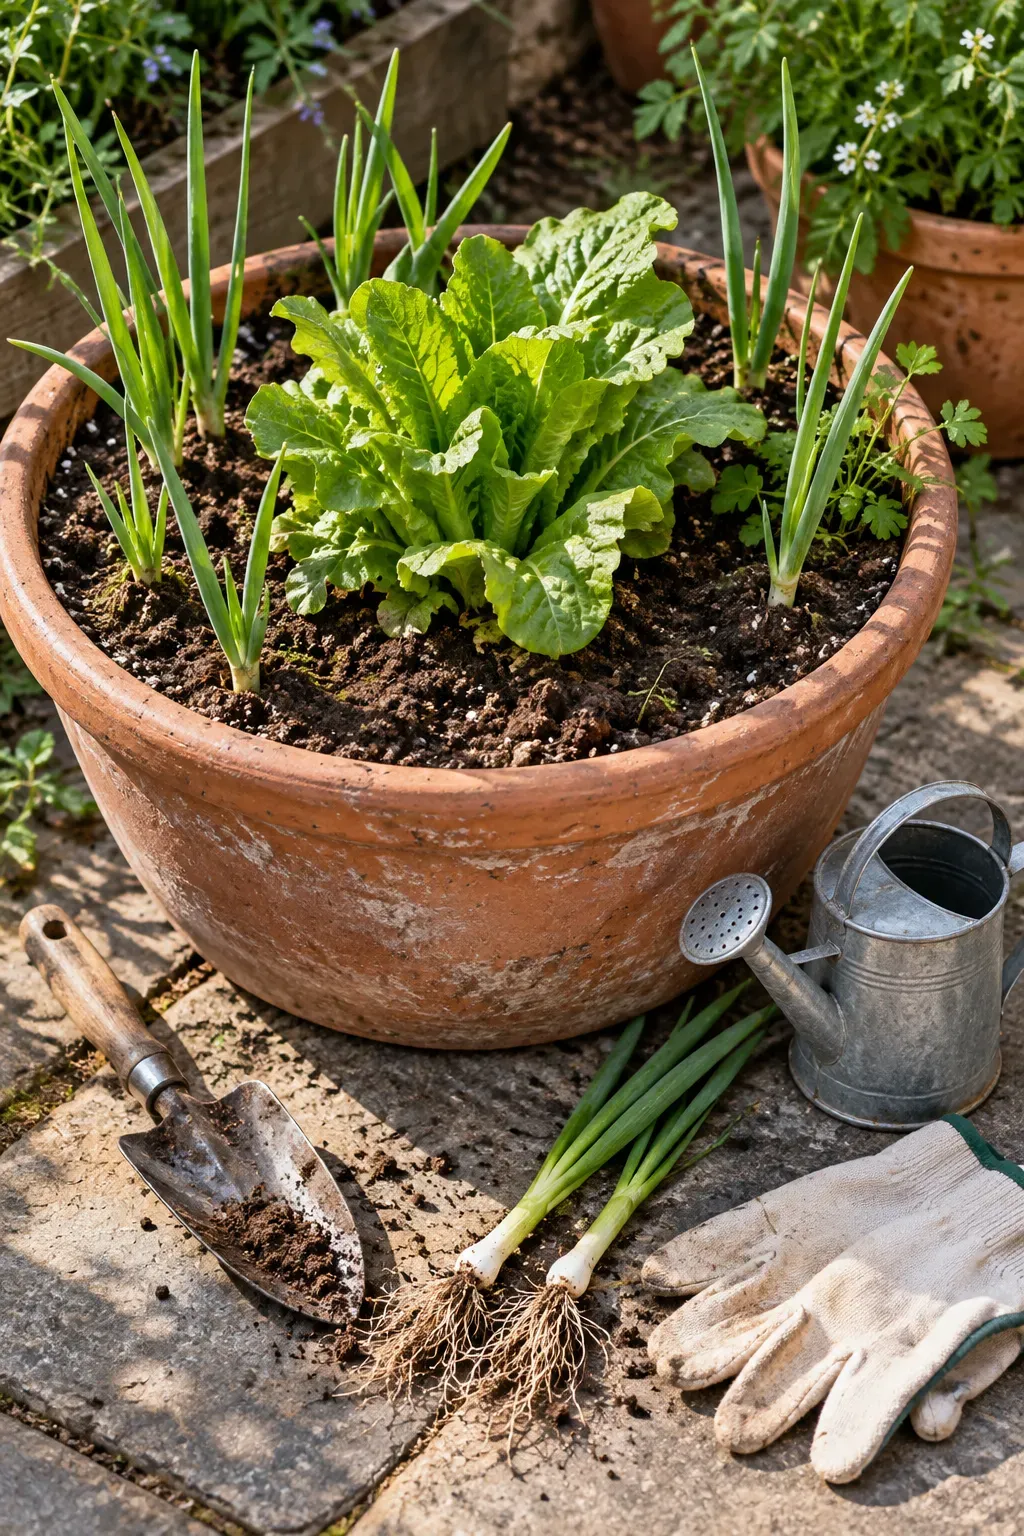
10. Tuck Green Onions Around the Edge of a Larger Spring Planter
The rim of a roomy container can sometimes hold a little extra food without taking space away from the main plant.
Green onions work well for this kind of edge planting because their leaves grow mostly upward. Place a few around genuinely open sections of the pot rather than creating a tight ring.
Watch the main crop as spring growth picks up. If its leaves or roots begin filling the container, stop adding anything new.
Use the edge only when it is truly spare space. A handful of onions can make a planter more productive, but an overcrowded pot is not working harder. It is simply competing harder.
📌 Good To Know
Edge planting works only when the main crop still has comfortable room. Keep visible soil between plants, and skip the onions if the container already feels full.
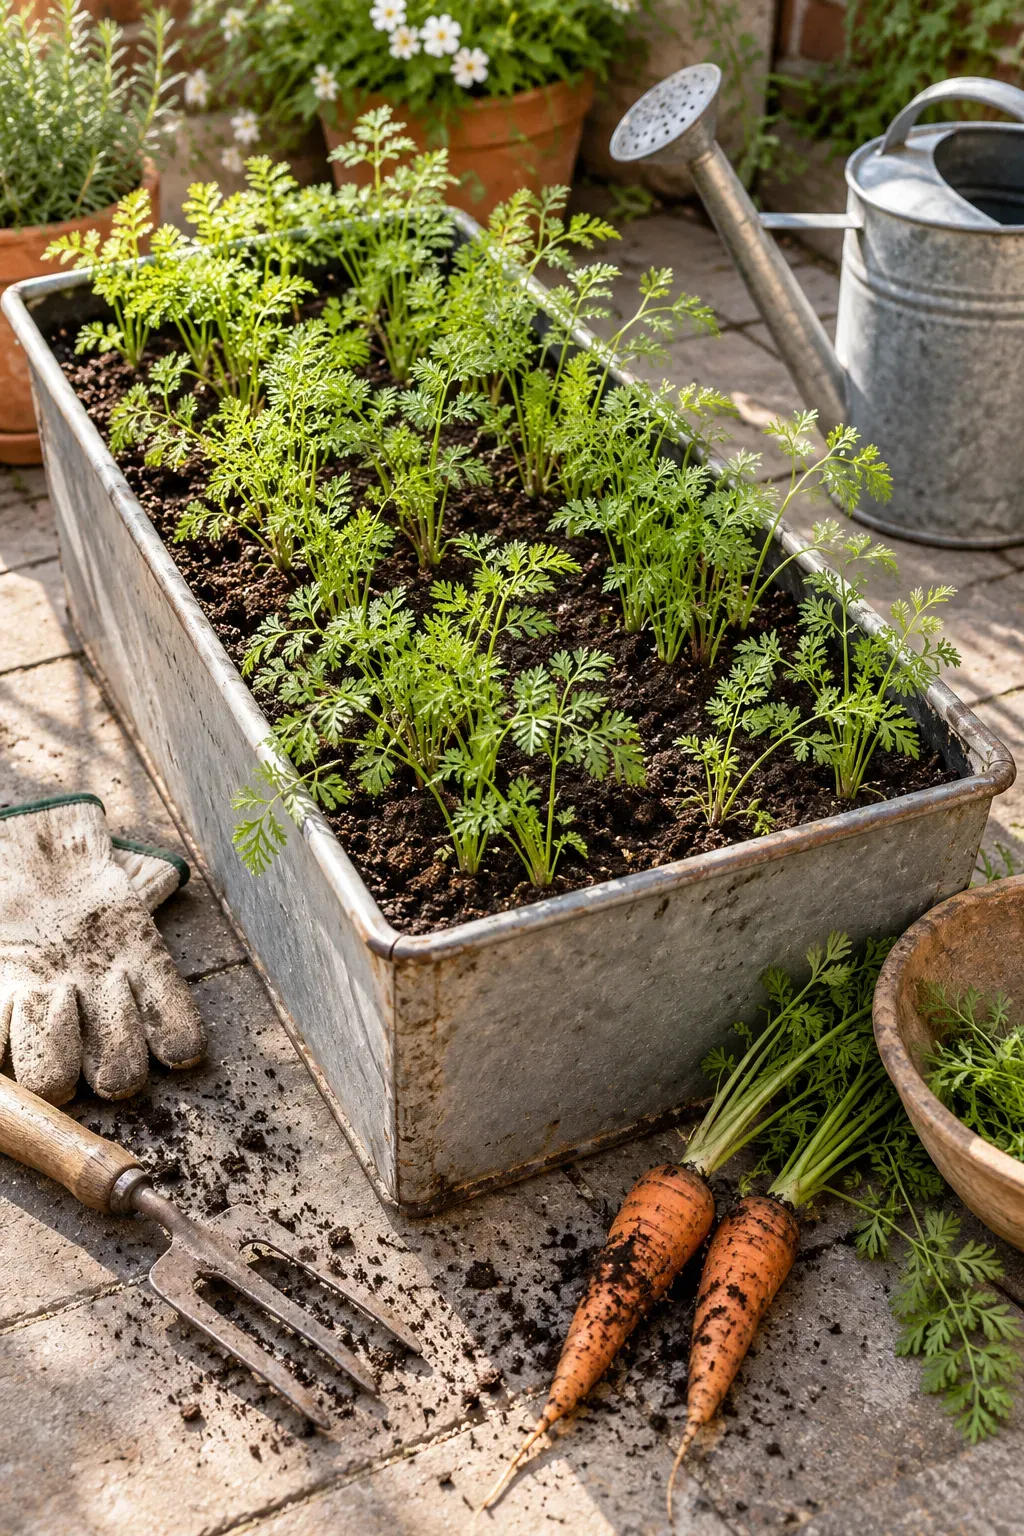
11. Use One Deep Container for Carrots Instead of Several Shallow Pots
Carrots do not need to take over the patio, but they do need enough depth to develop properly. Instead of scattering them through several small pots, give them one dedicated container.
Choose a deep planter, fill it with a loose growing mix, and keep the surface evenly planted rather than crowding every seedling together.
This setup gives you one clear place to manage:
- watering
- thinning
- soil moisture
- harvest timing
It also keeps root crops from getting lost among flower pots and herbs.
One deep carrot container is easier to care for than three shallow ones, and it uses the same patch of floor space far more efficiently.
Several shallow pots use more surface area while giving carrot roots less useful depth.
One deeper container creates a dedicated root-growing zone that is easier to thin, water, and harvest.
12. Create a Shady Spring Container With Leafy Greens and Herbs
The sunniest corner does not need to hold every container. A spot with gentler spring light can still be useful for plants that do not need the hottest position.
Leafy greens and some herbs can make a practical mixed container where stronger sun is limited.
Use the space thoughtfully:
- Put taller herbs toward the back.
- Keep harvestable greens near the front.
- Leave room between plants for airflow and watering.
- Watch the actual light instead of assuming the whole area stays shaded all day.
A quieter corner can become productive without competing with your brightest spots, which can then be saved for plants that rely more heavily on strong light.
- ▸Keep taller herbs toward the back so low greens stay easy to reach.
- ▸Use the front edge for crops you plan to harvest often.
- ▸Leave visible soil instead of filling every gap with another plant.
- ▸Check how the light changes through the day before choosing the final position.
13. Turn a Bare Wall Into a Vertical Spring Growing Zone
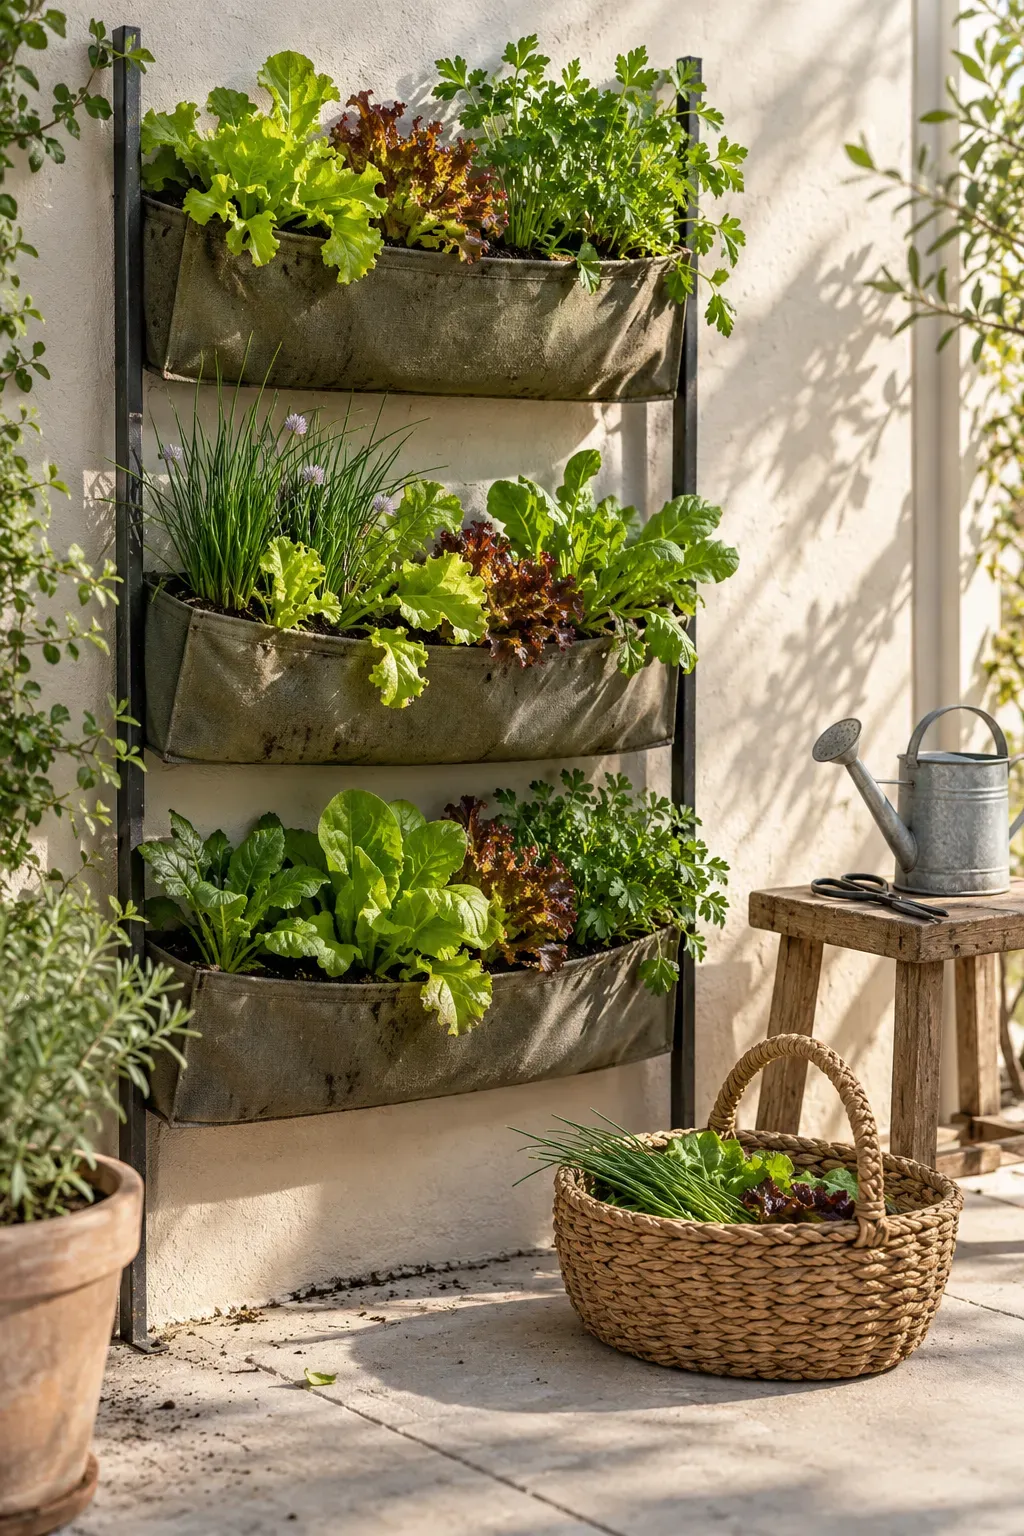
An empty wall can provide growing space without taking another step out of your patio or balcony.
Use a narrow vertical planter, wall-mounted pockets, or a slim tiered structure for smaller spring plants. Greens and compact herbs work especially well where every level stays easy to reach.
Keep the setup shallow enough that it does not push into your walking path.
The biggest mistake is making the vertical garden too tall or too crowded. If the top pockets are difficult to water, they will become the first ones you neglect.
Use height, but keep the whole garden within comfortable reach.
A vertical garden only saves space when every planting pocket remains easy to water, trim, and harvest.
14. Succession-Sow Small Pots So Early Harvests Make Room for the Next Crop
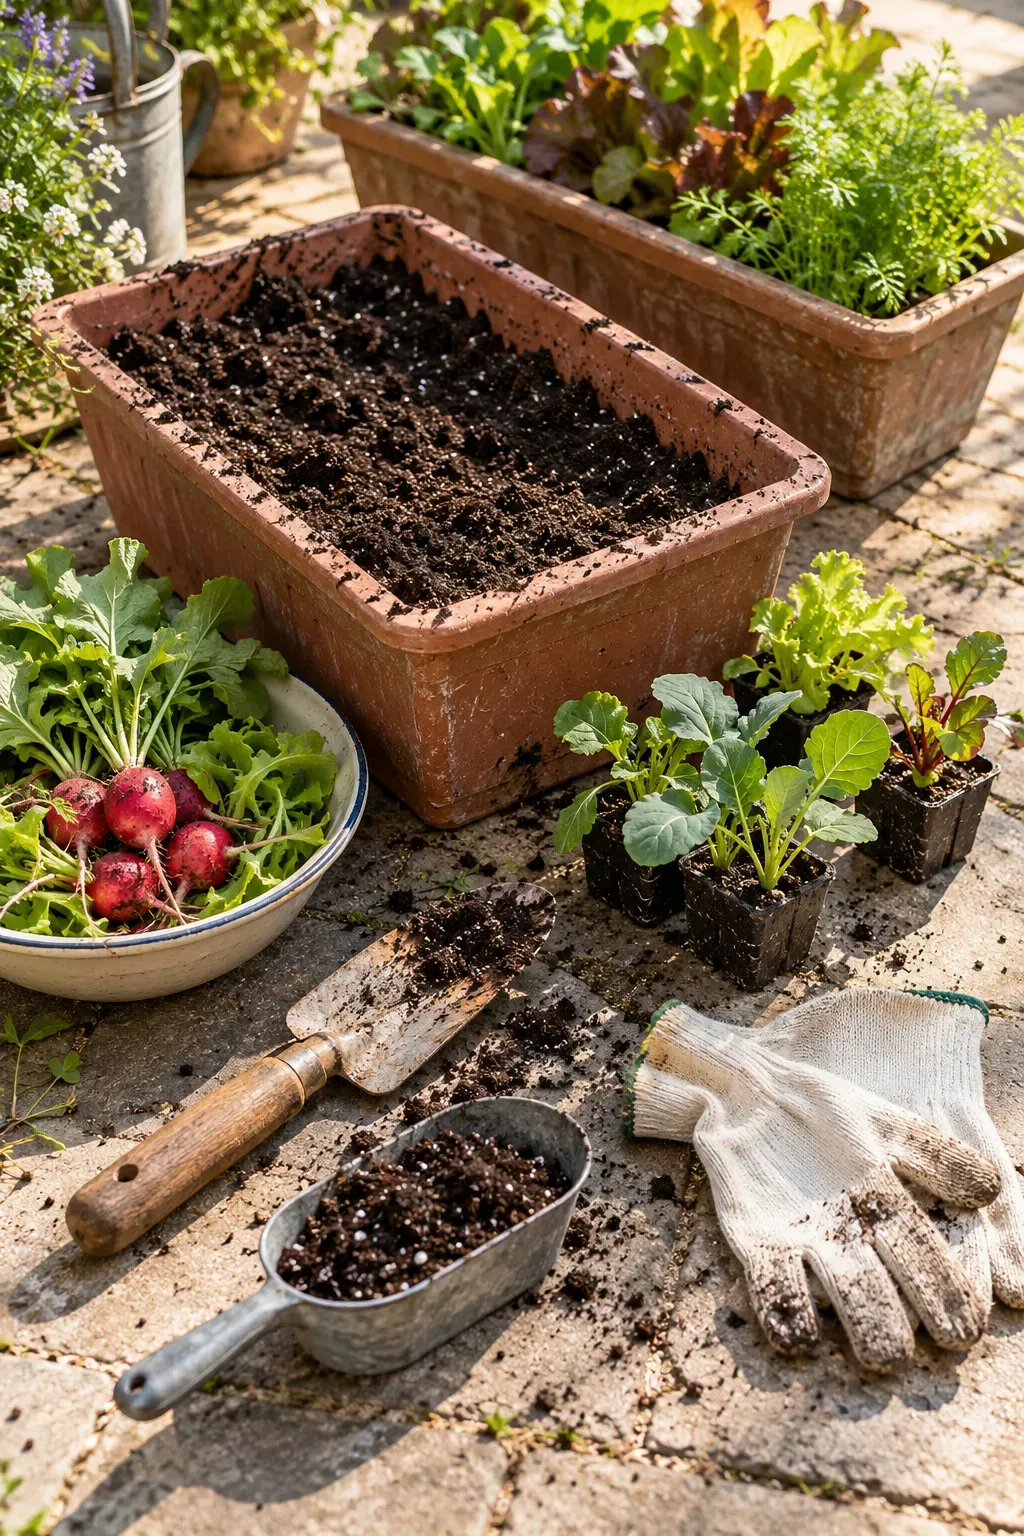
A small container does not have to sit empty after its first spring crop is finished.
Once you harvest quick greens or radishes, clear away the old plant material, check the growing mix, and use the pot again if conditions still suit another crop.
Keep the cycle simple:
- Harvest what is ready.
- Remove old roots and debris.
- Refresh the growing mix if needed.
- Replant for the next part of the season.
This approach works especially well when storage space is tight because you are reusing the same containers instead of bringing out a new pot for every planting.
Harvest the crop once it is ready instead of leaving the container occupied unnecessarily.
Remove old roots, fallen leaves, and other plant debris.
Check the growing mix and refresh it before starting again if necessary.
Replant with something appropriate for the light and conditions you have now.
15. Build One Mixed Spring Container That Looks Good and Gives You Something to Harvest
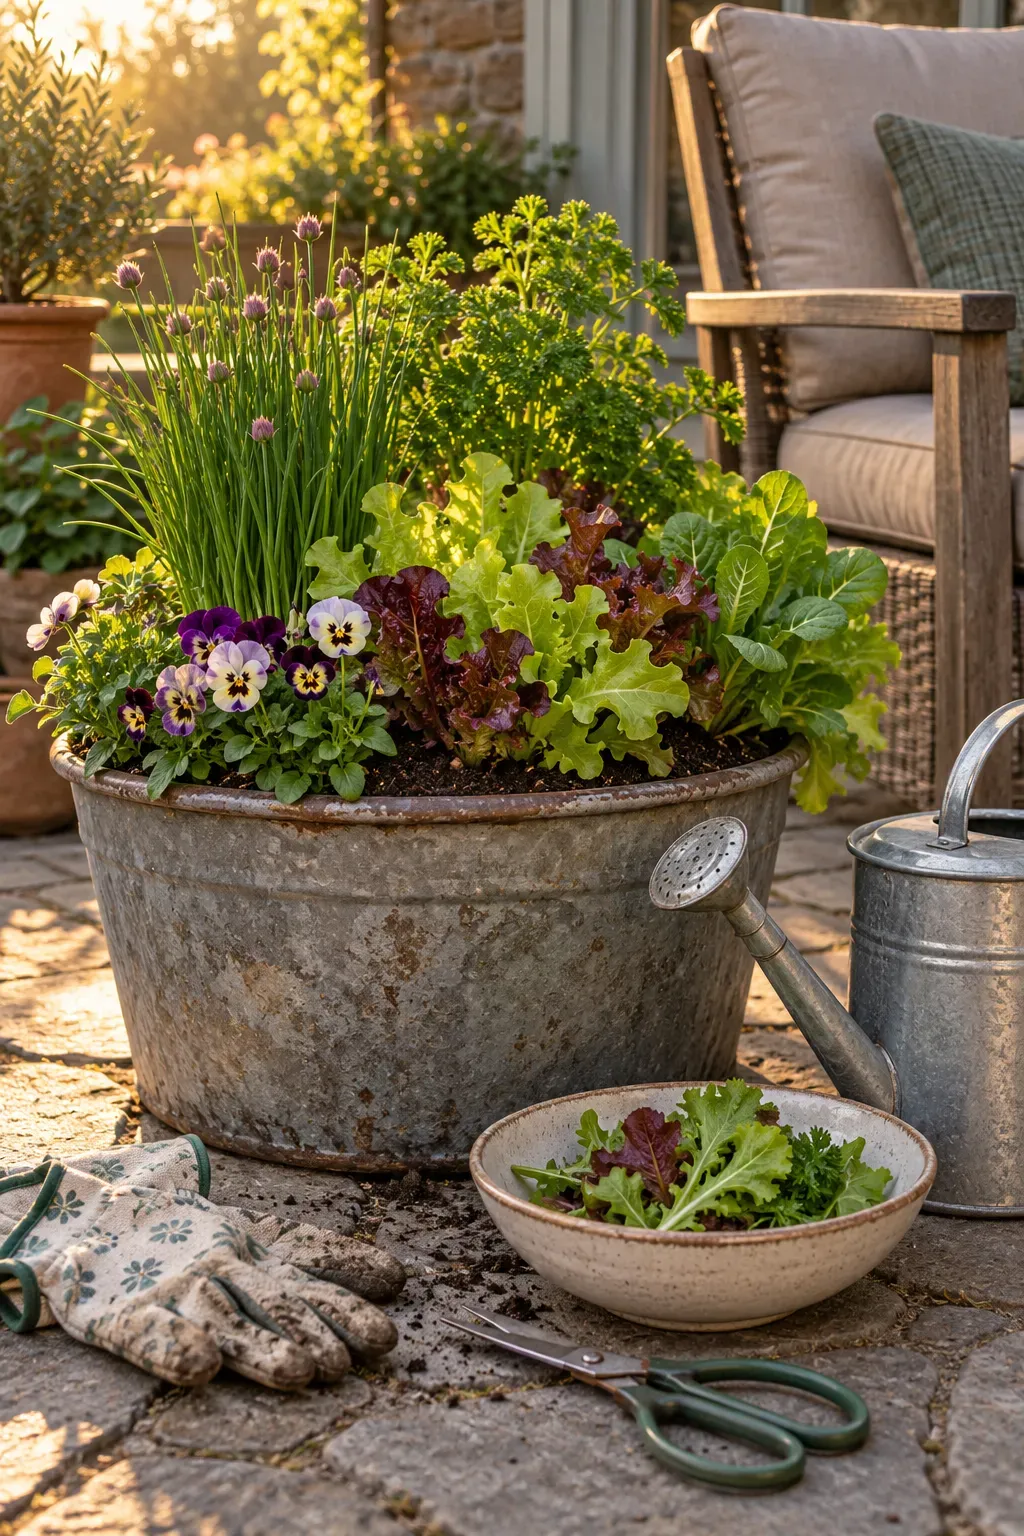
The hardest-working spring container may be the one that does not look purely edible or purely decorative.
Use an upright edible plant or herb for structure, leafy greens through the middle, and a small amount of seasonal color near the edge. The pot can still feel bright and intentional while giving you something useful to clip for the kitchen.
Keep the mix restrained.
Structure: one taller plant
Harvest: a few useful greens or herbs
Color: a small flowering accent
Access: open space for watering and picking
The container should look better as it grows, not become a competition between too many plants.
Make Each Spring Container Earn Its Place
A spring garden does not need dozens of pots to feel full or productive. The best setups use the space inside, above, and around each container more thoughtfully.
Try two or three of these spring container garden ideas first. You might combine greens and herbs in one pot, move smaller containers onto a stand, or use a wall that normally stays empty. Small changes can free up surprising amounts of space while keeping everything easier to water and harvest.
Leave room for plants to grow, keep the containers you use most within reach, and let spring fill in the gaps naturally.
Save this list to Pinterest for the next time you plan or refresh your spring containers.