
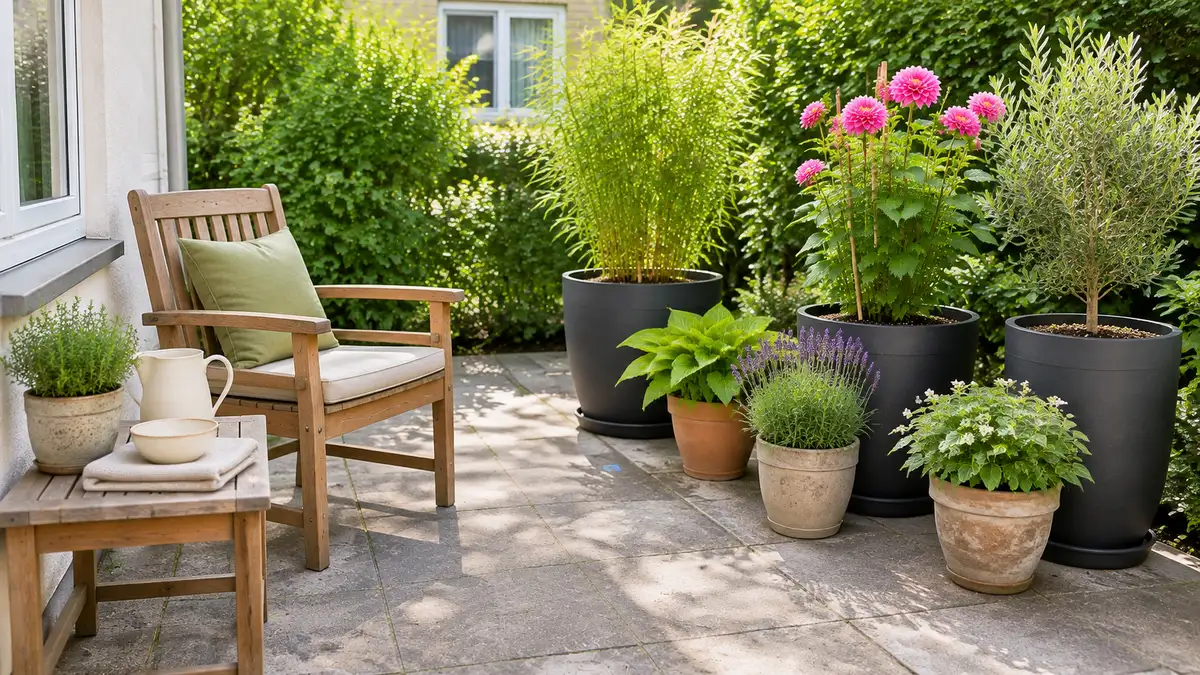
A patio can have enough room for a chair and still feel too exposed to enjoy. The neighbour’s window faces your seat, or passing traffic has a clear view of your table.
Learning how to create privacy with container plants starts with working out which view needs blocking. Filling every edge with leaves can take away the light and floor space you wanted to enjoy.
This guide walks you through a smaller, more focused screen. You’ll map the view, work out the height you need, and choose plants and pots that fit. You’ll also leave room to walk, water and pull out a chair without brushing through branches.
You don’t need to settle on plants today. Start with a notebook, a tape measure and the place where you actually sit. Allow time to watch the light before buying anything.
Setting up a few containers may take an afternoon once you have your supplies and any needed permissions, but plants can take months or longer to fill out. The aim is useful privacy that grows into the space while keeping it pleasant to use.
Plan first, plant later
Beginner
Allow an afternoon for a few pots; size and access affect the work.
Observe conditions over several days. Allow extra time for permissions and plant growth.
What you’ll need
- Notebook and pencil
- Tape measure
- Your usual outdoor chair
- Clock or phone for light observations
- Removable floor markers suitable for your surface
- Rental or building guidance, where relevant
- Plants suited to the site and planned size
- Containers with drainage holes
- Potting mix suited to the chosen plants
- Drainage trays or pot feet, as the surface requires
- Hand trowel and watering can or hose
- Clean pruning snips and suitable plant feed when needed
Wait to shop: the first checks will guide plant choice, pot size and how many containers you need.
Your privacy plan at a glance
- Map the Sightlines into the Spot You Want to Keep Private
- Assess Sunlight and Wind Where the Screen Will Grow
- Check Rental Rules and Balcony Weight Limits Before Planning
- Mark Out Clear Walkways and Space for Everyday Use
- Set the Lowest Screen Height That Blocks the Unwanted View
- Plan Plant Heights Around the Light You Want to Keep
- Choose Plants That Fit Your Conditions and Planned Screen Size
- Match Container Sizes to Plant Roots and Available Floor Space
- Test Empty Pot Positions Before Filling Them
- Plant the Containers with Room for Healthy Growth
- Check the Planted Screen from Your Seat and Nearby Windows
- Maintain the Screen to Keep Its Shape, Light and Airflow
1. Map the Sightlines into the Spot You Want to Keep Private
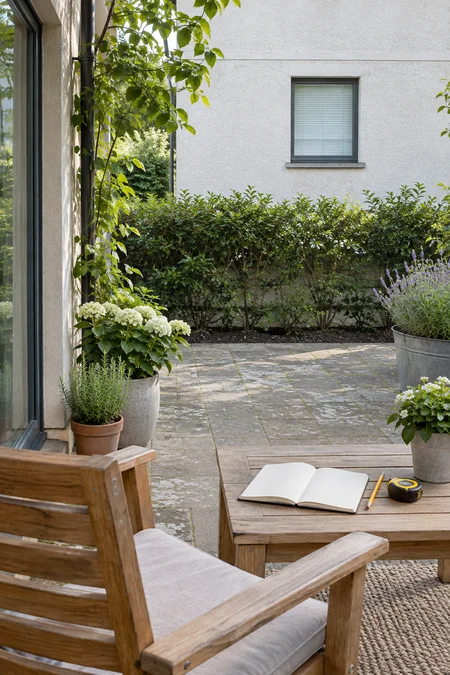
Your favourite seat is the starting point. Sit there and note where an unwanted view comes from: a street, a nearby window or the next patio. A sightline is the straight path between that viewpoint and the spot you want to shield.
Sketch the space and draw an arrow for each view that matters. Mark whether it comes from above or roughly eye level. This gives your container plant privacy screen a clear job before you decide where any pots belong.
Give each unwanted view a clear target
Street · nearby window · neighbouring patio
Your chair · the dining spot · a reading seat
Roughly eye level · looking down from above
Keep on your sketch: the views you want to block and the daylight you want to keep.
2. Assess Sunlight and Wind Where the Screen Will Grow
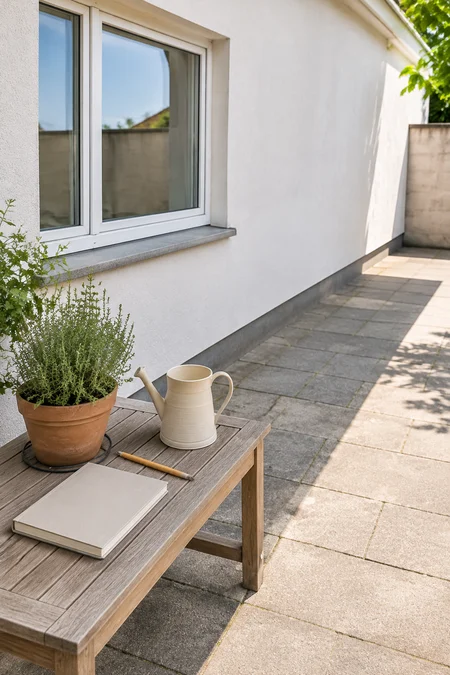
A bright-looking balcony may receive very little direct sun. Check the proposed planting area in the morning, around midday and late afternoon, recording when sunlight actually reaches it. Check nearby windows too; their light matters when you plan the screen.
Repeat on a breezier day and note exposed edges or gusty corners. These observations help you choose balcony privacy plants for the conditions they will face. Remember that sun angles change with the season.
Make a light and wind record
| Check | What to note |
|---|---|
| Morning | Where direct sun reaches the planned pots |
| Around midday | Shade from walls, roofs or nearby buildings |
| Late afternoon | Sun reaching the seating area and windows |
| Breezier weather | Exposed edges, sheltered spots and recurring gusts |
Record the date: one day’s light pattern is a starting point, not a year-round picture.
3. Check Rental Rules and Balcony Weight Limits Before Planning
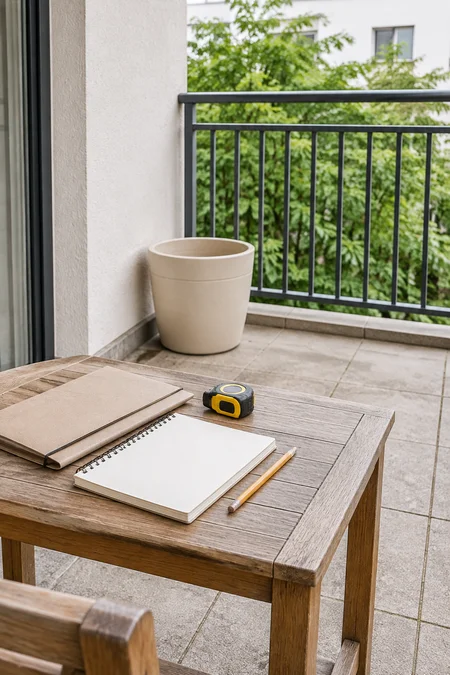
Before buying, ask your landlord or building manager about planters, drainage, attachments and access rules. For a balcony or raised deck, get confirmation that the proposed setup is suitable; ask who can assess it if the limits are unclear.
The load includes containers, wet potting mix, mature plants and other items already there. A lightweight empty pot does not make the filled setup lightweight. Keep the plan within confirmed limits and leave required access routes clear.
Check before you buy
- Permission: Are there rules about planter placement, screen height or attachments?
- Load: Has the proposed filled setup been checked for this balcony or raised deck?
- Water: How must drainage be handled to protect the building and neighbours below?
- Access: Which doors, drains and required routes must stay clear?
If the load limit is unclear: pause the buying and filling stage until the building manager or a qualified professional confirms what is suitable. There is no single safe pot count for every balcony.
4. Mark Out Clear Walkways and Space for Everyday Use
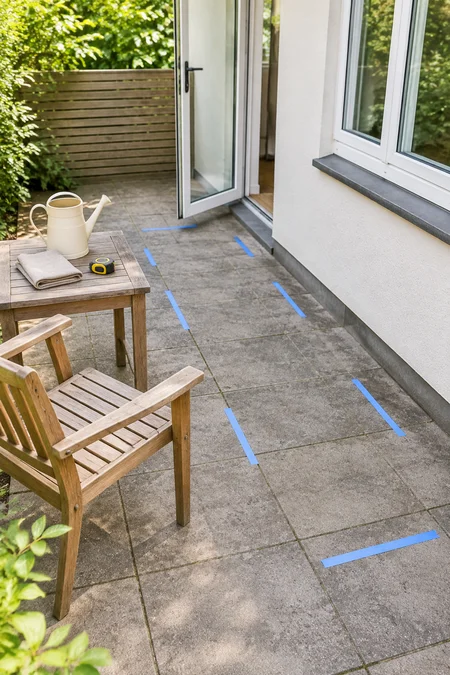
Pull your chair out as you would to sit down, then walk from the door to your usual seat carrying an empty watering can. Mark the space you need with removable tape suited to the surface.
Include the door’s full swing and room to reach the future pots. Keep both containers and their grown foliage outside these marks. Leave any required access width from your building guidance clear.
Reserve the space you use
Open it fully without touching a pot or branch.
Pull the chair out and sit down without squeezing sideways.
Carry your watering can along the route without brushing plants.
Reach the potting mix and drainage trays without moving the whole display.
Plan for the widest part: leaves may spread beyond a pot’s rim. The clear route needs to stay clear as plants grow.
5. Set the Lowest Screen Height That Blocks the Unwanted View
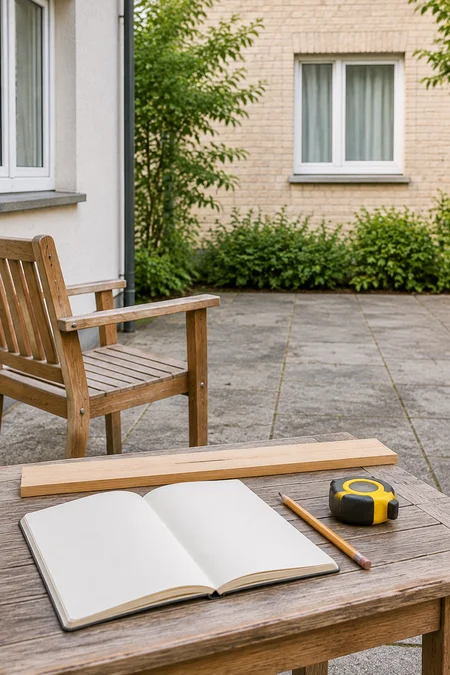
Measure from the floor to the planned foliage top, counting pot and plant together. From your usual seat, ask a helper to hold a measuring stick upright at the proposed screen position.
Identify the height where foliage would hide the unwanted view. Keep the check within comfortable reach from the floor.
Record where the foliage needs to begin, too: a tall plant with bare lower stems may miss the view completely. For steep views from above, full coverage may need more height than your space can support. Set a realistic privacy goal before shopping.
Match the leaves to the sightline
Only as high as your mapped view requires, within the limits of the site.
Leaves need to cross the actual viewing path. Total height alone does not provide privacy.
These add height, but bare stems may leave the needed area exposed.
Write down both: the required foliage top and the lowest point that needs leaf cover. Measure both from the same floor level.
Recheck these measurements if the planned screen position changes.
6. Plan Plant Heights Around the Light You Want to Keep
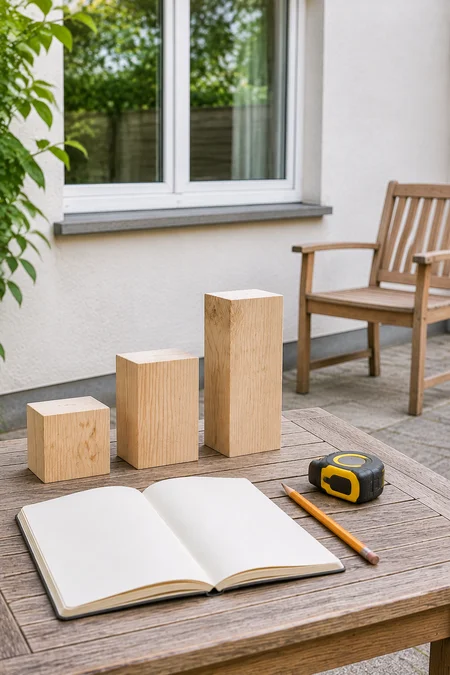
On your sketch, reserve the tallest foliage for the sightline you marked. Plan lower growth beside windows and toward the seating area, using your sunlight notes to decide where height would cost the most light.
Keep this height change within the planned planting footprint; extra rows can eat into walking room.
Among small garden privacy ideas, this is a useful check: each tall section should block a specific unwanted view. Leave the rest of the space at a lower height.
Give height a purpose
Use these notes on your plan before choosing plants.
- At the unwanted view
- Use the measured screening height where leaf cover is needed.
- Beside a window
- Keep growth lower where a taller plant would interrupt useful daylight.
- Toward the seat and walkway
- Plan lower foliage with enough room for its mature spread.
Before moving on: can you explain which view each tall section blocks, and which light source each lower section protects?
7. Choose Plants That Fit Your Conditions and Planned Screen Size

Take your light notes and height sketch to the nursery. Shortlist plants that suit your sun, wind and local winter temperatures, then check their expected height and spread. Ask about long-term container care if the label gives only garden-grown dimensions.
Look for leaves where your sightline needs cover. A plant with a narrow outline may still have bare stems at seat height. Decide whether you need privacy in winter, too; deciduous plants lose their leaves.
Choose a plant that fits the plan without constant hard pruning to keep it manageable.
Put each plant through these checks
Keep it on your shortlist only when its needs match your plan.
- Conditions match
Can it cope with the recorded sun, exposure and local winter conditions in a container? - Size fits
Will its expected height and spread stay within the space you reserved? - Leaves cover the view
Is foliage present at the height where you actually need privacy? - Season suits your goal
Will it provide leaf cover during the months you use the space?
Ask before buying: what pot size, watering, pruning and winter care will this plant need as it grows?
8. Match Container Sizes to Plant Roots and Available Floor Space
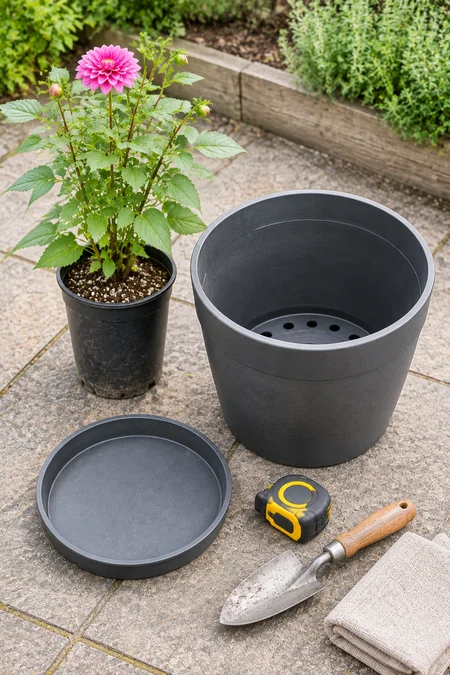
Usable inside space matters as much as outside width. Choose a pot with drainage holes and growing room suited to the plant’s current root ball and growth rate. Ask the nursery to confirm the size if you are unsure.
Measure the outer rim and any tray against your floor plan. If a suitable pot will not fit, revisit the plant choice. Do not squeeze a large plant into a tiny container to save walkway space.
Measure the pot in two ways
Inside: room for roots
Check usable depth and width, allowing for any inner liner. Match the next pot to the current root ball and expected growth. Avoid a large jump in pot size for a small, slow-growing plant.
Outside: room on the floor
Measure the widest rim and the tray or stand beneath it. Include these in the planting footprint, then allow for the plant’s expected leaf spread.
Check the shape: a tall decorative shell may contain a shallow liner. Outside height does not tell you how much root space it offers.
Keep the earlier limits: the filled pot must still suit the site’s confirmed load and exposure conditions.
9. Test Empty Pot Positions Before Filling Them
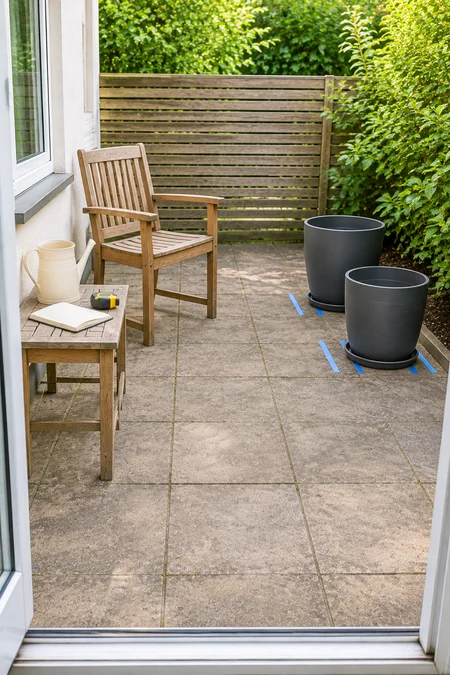
Empty containers are much easier to shift while you test the layout. Place them in the planned positions with their trays, then use flat removable floor markers to outline the expected leaf spread. Repeat the chair, doorway and watering-route checks from step 4.
Adjust anything that crowds the space before adding potting mix. Recheck the sightline height if a pot moves nearer to or farther from your seat. This trial checks floor space; the empty pots cannot show the shade that grown plants will cast.
Keep your height and sunlight notes beside the plan.
The empty-pot trial
If either touches a pot or planned foliage, revise the position.
Check against the marked leaf spread as well as the pot rim.
Keep pots fully supported and leave drains and required access points open.
A moved container may need a different screening height.
Ready for planting? Keep the positions that pass these checks. Take empty pots indoors or to shelter after the trial if wind could move them.
10. Plant the Containers with Room for Healthy Growth

With the pots in their checked positions, use potting mix suited to your chosen plants. Moisten dry root balls before removing the nursery pots, then support each plant by its root ball as you lift it out.
Unless the plant has different planting instructions, keep its original soil level even with the new mix. Fill around the roots and firm gently, leaving about 2–5 cm (1–2 inches) below the rim for watering.
Water thoroughly and let excess drain. Give plants their recommended spacing; crowding extra plants into a pot will not create a healthy screen.
Planting depth and growing room
Keep the finished mix about 2–5 cm (1–2 inches) below the rim so water can soak in without immediately spilling over.
For most nursery-grown plants, match the existing root-ball surface to the new mix. Follow species-specific instructions where these differ.
Use the planned plant count and suitable potting mix. Keep drainage holes open; a deep gravel layer takes away root space and does not fix poor drainage.
After watering: check that excess water escapes. Empty collected runoff where it can be disposed of safely, following the drainage arrangements you checked earlier.
11. Check the Planted Screen from Your Seat and Nearby Windows
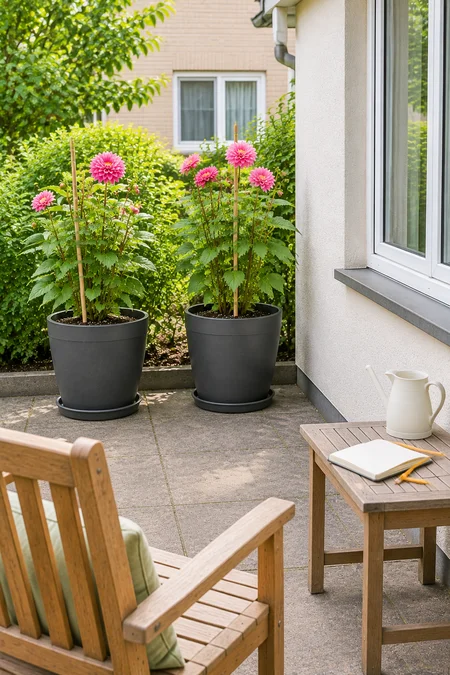
Sit in your usual spot and look toward the view you mapped. Does foliage cross that sightline? Then check from inside the nearest room: useful window light should still reach the space.
Repeat at the times you recorded earlier, under similar daylight where possible. Note any remaining exposure or unwanted shade.
Young plants may need time to fill out, so compare their expected growth with your plan before adding more pots. Arrange help if a filled container needs moving.
Check the result from both sides
From your seat
- Foliage crosses the unwanted view.
- The chair still pulls out freely.
- Leaves stay outside the reserved walking route.
From the nearest window
- Daylight still reaches the room.
- The planned lower growth stays below the area you wanted clear.
- Windows can open as needed without hitting branches.
Judge at matching times: morning and afternoon shadows differ. Cloud cover can also change how bright a room feels.
Before adding another pot: check whether normal growth will provide the missing leaf cover.
12. Maintain the Screen to Keep Its Shape, Light and Airflow
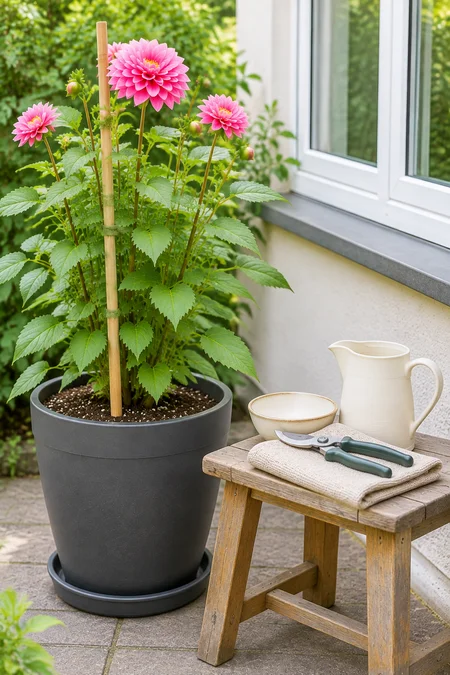
Growth changes the screen’s shape.
Check the reserved walkway and window space once a week during active growth, along with the foliage covering your sightline. Prune only as your chosen plant allows, at the right season; removing the wrong stems can leave a lasting hole.
Check potting-mix moisture more often in hot or windy weather, and water to the plant’s needs. Follow its feeding guidance and review root space as it grows. If keeping it within bounds takes constant cutting, replace it with a better-fitting plant.
Keep privacy useful as plants grow
- When checking moisture
- Feel the mix below the surface and follow the plant’s moisture needs. Check more often in drying weather; do not water automatically if the root zone is still wet.
- Weekly during active growth
- Look along the walkway, around the chair and toward the window. Check drainage trays and any support ties as well.
- At the plant’s pruning season
- Follow its pruning method. Preserve the useful leaf cover and avoid forcing every plant into the same tightly clipped shape.
- As the plant fills its container
- Review root space and potting-mix condition. Check the floor plan and load limits again before moving to a larger pot.
A useful stopping point: keep enough leaves to soften the view while retaining the walking space and daylight you planned.
Troubleshoot Your Container Privacy Screen
Start with the part of the plan that is no longer working: the sightline, the clear floor space or the light. Change one thing at a time, then check the result from your seat and window before adding more plants.
Find the cause before adding another pot
| If this happens | Try this |
|---|---|
| You can still see through the screen at seat height. | Check where the leafy part sits against the sightline. If young growth is expected to fill that area, allow time. If the plant naturally has bare stems there, choose a better-fitting growth shape instead of crowding its pot. |
| The nearest room feels darker. | Compare the light at the same time of day under similar weather. Identify the foliage blocking the window’s light, then lower or relocate that part of the planting if the plant and layout allow it. Get help with heavy containers. |
| Leaves brush you along the walkway. | Recheck the expected leaf spread against your floor marks. Prune only where the species allows it. If the plant will keep outgrowing the space, replace it with a smaller-growing choice. |
| The plant wilts even though you water often. | Check moisture within the root ball before watering again. Wilting can accompany dry roots or root trouble in wet mix. If wet, check drainage and standing water; if dry, water slowly and thoroughly. Seek plant-specific advice if wilting continues. |
| Privacy disappears when the season changes. | Check the plant’s normal leaf cycle. Deciduous plants lose their leaves, and many herbaceous plants die back. If winter privacy matters, revisit the plant selection for suitable year-round foliage within the same height and space limits. |
| A container rocks or shifts in wind. | Treat the setup as unsuitable for that exposure until corrected. Arrange a safe move to shelter when conditions allow, and review the plant height, pot shape and site. Do not add heavy ballast to a balcony without checking its permitted load. |
Beginner Questions About Container Plant Privacy
How many pots do I need for privacy?
There is no fixed number. Start with the width of the unwanted view and the expected leafy spread of each plant, then test the pot footprints. Use the fewest containers that can provide the cover you need while keeping roots, walkways and windows clear.
Can container plants block a view from an upstairs window?
Sometimes they can soften part of it, but steep downward views are harder to block with an upright screen. Check the sightline from your seat before buying tall plants. Full coverage may not fit your space, light needs or permitted setup.
Can I get privacy straight after planting?
A larger plant may provide useful cover sooner, but its foliage still needs to line up with the view. Check its root-space needs, filled-pot weight and future spread before buying. Young plants need growing time; extra plants squeezed into one pot are not a reliable shortcut.
Does a living privacy screen have to work all year?
Only if you need privacy all year. Seasonal foliage can suit a patio used mainly in warmer months, while winter use calls for plants that retain useful leaf cover in your climate. Dahlias, for example, provide seasonal screening rather than winter cover.
Can I keep a large plant small by using a smaller pot?
Restricted roots can slow growth, but a cramped pot is not a dependable size-control plan. It can leave you managing frequent drying and poor growth. Choose a plant with a suitable mature size and give its roots the space it needs.
Keep This Container Privacy Checklist Handy
Use this card when you shop, place your pots and check new growth. Keep your own measurements beside it so each choice fits the space you actually have.
Container privacy quick reference
Screen the view you need to block while protecting daylight and usable floor space.
What you need
Plan: notebook, pencil, tape measure, usual chair, clock or phone, surface-safe removable floor markers and any relevant building guidance.
Plant and care: suitable plants, draining containers, suitable potting mix, trays or pot feet where needed, trowel, watering can or hose, clean pruning snips and plant feed when needed.
The 12-step sequence
- Map the sightlines: mark the unwanted views into your usual seat.
- Assess the conditions: record direct sun, shade and wind exposure.
- Check the rules: confirm permissions, drainage arrangements, access and any structural load limits.
- Reserve usable space: mark walkways, door swing, chair movement and watering access.
- Set the screen height: measure where useful foliage must begin and end.
- Plan the height changes: keep taller growth at the unwanted view and lower growth where light matters.
- Choose plants: match conditions, expected size, leaf cover and the season you need privacy.
- Choose containers: allow suitable root space and include rims and trays in the footprint.
- Trial the empty pots: check positions against expected leaf spread before filling.
- Plant with growing room: follow planting-depth guidance, allow watering space and let excess water drain.
- Check the result: review privacy from your seat and daylight from nearby windows.
- Maintain the fit: manage moisture, growth, pruning and root space as the plants develop.
Keep these notes with your plan
- The view you want to shield and the months you need cover
- The planned lower and upper edges of useful foliage
- The space reserved for pots, grown leaves and clear access
- The daylight you want to preserve at nearby windows
- Each plant’s expected size and care needs
Before adding another plant: check whether the existing plants’ expected growth will provide the missing cover without crowding the space.
Enjoy More Privacy with Room to Breathe
Knowing how to create privacy with container plants starts with the view you want to shield and the space you want to keep.
Your plan now gives each pot a purpose, with room for roots, walking and useful daylight.
As the plants grow, return to your usual seat and check that the screen still fits the way you use the space.
Save this guide to your Pinterest gardening board so the measurements and planting checklist are ready when you need them.