

A balcony can look sunny at breakfast and feel like a wind tunnel by lunch. Add a narrow doorway, hot paving, and a watering can that barely fits between the pots, and growing vegetables starts to feel less simple than the photos suggest.
The challenge is choosing a setup that fits the space you actually have. A tall trellis might catch too much wind. A row of tiny pots can dry out quickly. And the brightest corner may also be the spot where afternoon heat hits hardest.
These balcony vegetable garden ideas focus on those everyday problems. You’ll find ways to place containers, choose manageable crops, use vertical space, and make watering less awkward. Each idea includes a practical detail that helps you decide whether it belongs on your balcony.
Start with the conditions, then choose the plants. Before bringing home heavy containers or attaching supports, check your building’s rules and confirm any weight or fastening limits. You can build a useful food garden gradually, while keeping room to open the door and sit outside.
1. Map the Moving Sun Before Placing Your Vegetable Pots
That bright patch beside the railing may disappear behind the next building before lunch. Watch how direct sunlight moves across your balcony before deciding where each crop belongs.
On a day you’re home, make a simple note:
- Which spots receive direct morning light?
- Where does sunlight reach around midday?
- Which containers would face strong afternoon sun?
Repeat when nearby trees or seasonal shadows change the pattern. Fruiting crops such as tomatoes and peppers generally need more direct sun than leafy greens. A bright-looking wall alone won’t tell you enough. Place plants according to the light reaching their leaves.
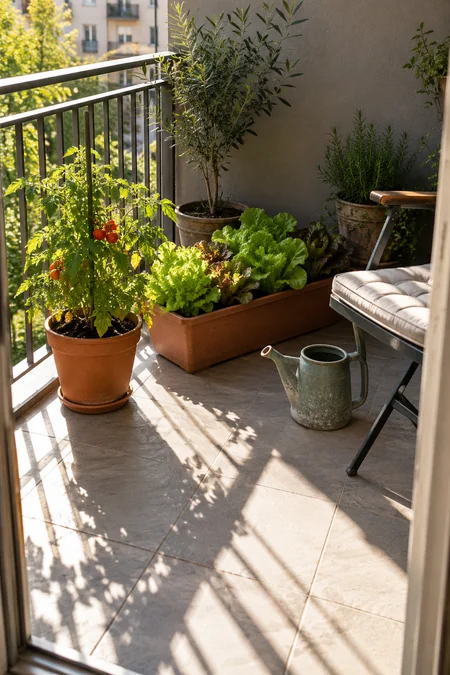
2. Keep a Clear Walking Lane Along One Side
Open the balcony door fully before arranging a single pot. The space behind its swing is easy to overlook, especially when a tomato cage starts leaning into it.
Place containers along one edge, leaving a continuous route to the far end.
- Keep watering cans and spare saucers out of that route.
- Leave enough room to bend down without brushing against brittle stems.
Check the grown-in layout. A small seedling takes up far less space than a mature plant. Allow for spreading leaves and reachable harvests, and keep required exits clear as the garden fills out.

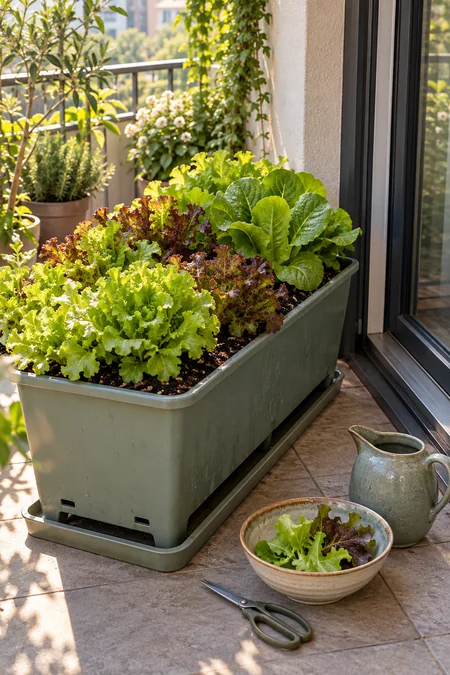
3. Grow Leaf Lettuce in a Trough Near the Door
A few lettuce leaves are easier to pick when the planter sits within reach of the kitchen door. Choose a trough with drainage holes and enough root space for the varieties you’re growing.
Loose-leaf lettuce suits this setup because you can harvest outer leaves while leaving the center growing.
- Thin seedlings so the leaves have room to spread.
- Keep the mix evenly moist without leaving the roots waterlogged.
Let the season guide placement. Lettuce often struggles in strong heat. A spot with morning sun and relief from harsh afternoon exposure can be useful, particularly as the weather warms.
4. Give One Compact Tomato Its Own Container and Cage
Choose the tomato variety before choosing its pot. A seedling described as compact or suitable for containers is a more manageable starting point than a vigorous vine with no clear space to grow.
Give it a container that meets the variety’s stated needs, filled with container potting mix.
- Install a suitable cage or stake while the plant is small.
- Position the pot where foliage receives good direct sun.
Leave access around the rim. You’ll need to check moisture and water the soil beneath the leaves. On an exposed balcony, use a stable setup and keep stems and fruit inside the railing.

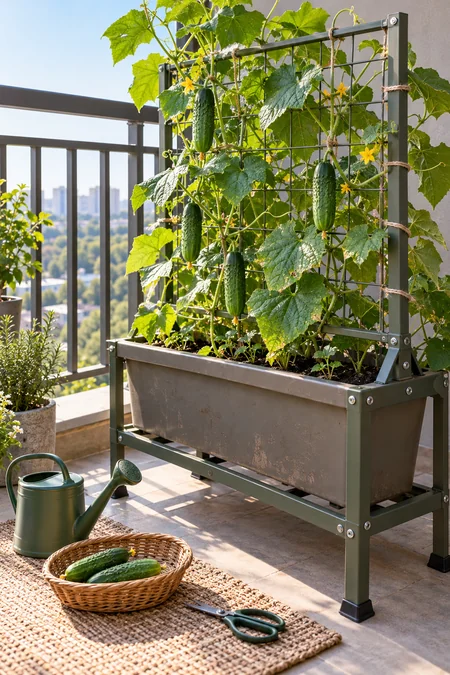
5. Train a Compact Cucumber Up a Trellis Inside the Railing
Cucumber vines can quickly spread across the floor and catch beneath a chair leg. A short trellis gives a suitable compact vining variety a clear place to climb.
Choose a roomy container and a support secured within your building’s fastening rules. A trellis adds wind resistance, so avoid a tall, unsupported panel.
- Guide young stems toward the support with loose, soft ties.
- Keep developing cucumbers where you can see and reach them.
Check behind the leaves. Fruit can hide against the trellis and grow unnoticed. Leave space between the foliage and railing so picking doesn’t require leaning outside.
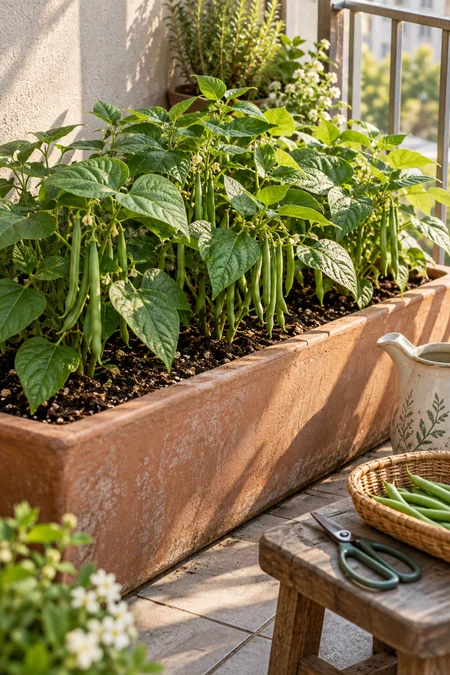
6. Use Bush Beans Where Tall Supports Would Catch the Wind
A tall bean-covered frame gives gusts more foliage to push against. Bush beans keep growth lower, making them a useful choice where a climbing crop would be awkward to support.
Choose a container with drainage and enough room for the variety’s roots and spacing.
- Sow when the weather and potting mix are warm enough for beans.
- Leave space between plants so foliage can dry after rain.
Low growth still needs shelter. Bush beans can suffer wind damage, too. Place them away from the most exposed corner, and pick pods regularly while they’re tender rather than letting them become swollen and tough.
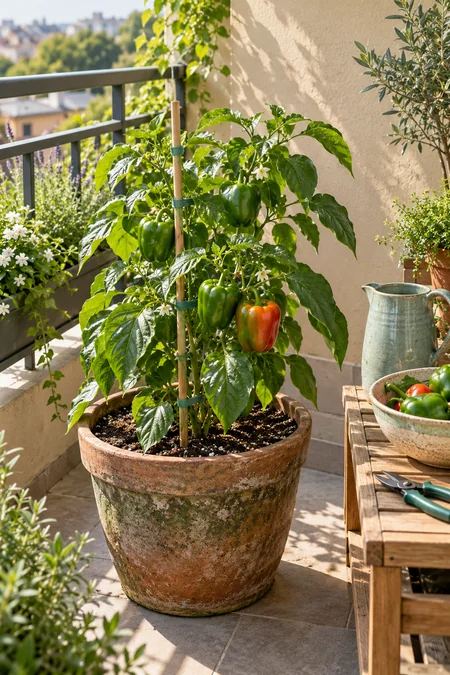
7. Place a Compact Pepper in a Sunny, Sheltered Corner
Give a compact pepper a spot with good direct sun and some protection from gusts. A sheltered corner can help, provided a solid wall doesn’t block the light or trap excessive heat around the plant.
Check the corner during the warmest part of the day before settling the pot there.
- Leave breathing room between the foliage and the wall.
- Add a small stake if developing fruit begins pulling branches sideways.
Watch the pot as well as the leaves. A container against sun-heated masonry may dry faster than expected. Check the mix directly instead of watering only when the plant looks wilted.
8. Sow Radishes in Small Batches Through the Cool Season
A whole trough of radishes can become ready before you want to eat them all. Smaller sowings spread the harvest and leave room to adjust when a batch grows poorly.
Choose a variety suited to your season and a container deep enough for its root shape.
- Sow directly into the potting mix rather than moving established seedlings.
- Thin crowded sprouts according to the seed packet.
Keep growth steady. Drying out and then soaking the pot can contribute to poor roots. Check moisture regularly, and pause sowing when conditions become too hot for the variety. Pull a sample root to judge readiness.

9. Match Short Carrot Varieties to Your Container Depth
The height printed on a planter’s label isn’t always the depth available to roots. A raised base or built-in reservoir can reduce the space holding potting mix.
Measure that usable depth before choosing carrots. Short or round-rooted varieties can suit containers that won’t accommodate long roots.
- Fill with loose container mix, avoiding stones and compacted clumps.
- Sow directly and thin gently once seedlings are established.
Give each root its own space. Crowded carrots stay small and can be awkward to separate. Keep the seedbed surface moist during germination, especially where balcony wind dries the top layer before the mix beneath it.

10. Grow Chard for Repeated Outer-Leaf Harvests
Chard gives you leaves to pick without clearing the whole container at once. Its upright stems also make it easier to spot harvestable leaves than in a crowded, low-growing planter.
Allow enough room for the variety’s mature spread. Those small nursery leaves can become much broader.
- Pick healthy outer leaves once the plant is well established.
- Leave the central growth and plenty of foliage to support recovery.
Harvest to match the plant’s pace. A small balcony chard plant won’t supply endless bowls of greens. Take modest amounts, keep moisture steady, and wait for fresh growth before making another substantial picking.

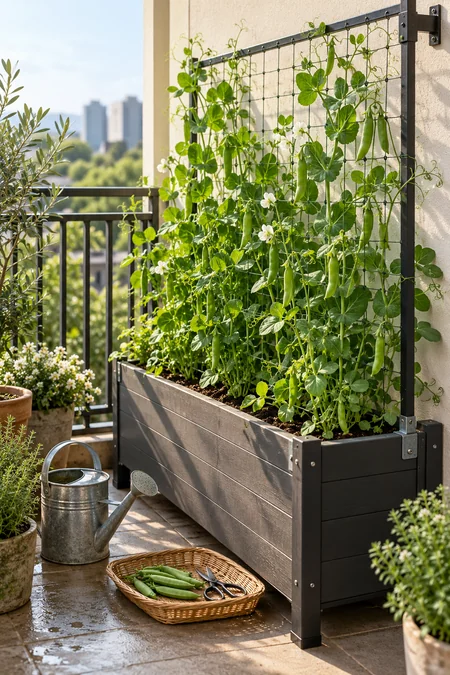
11. Sow Cool-Season Peas Along a Short, Secured Trellis
Peas can use a little vertical space before summer crops need it. Choose a shorter variety suited to your local cool growing season, then match the support to its expected height.
Place the trellis inside the balcony boundary and secure it before the vines develop.
- Sow directly into a container with suitable root space and drainage.
- Guide early tendrils toward the support without pulling them tight.
Choose your harvest style. Snow peas are picked flat, snap peas while the pods are plump and tender, and shelling peas for the seeds inside. Check the variety so you know what you’re waiting for.
12. Tuck Scallions Into a Narrow Planter You Can Reach Easily
A slim planter can hold a useful patch of scallions without taking over the balcony floor. Choose one with enough soil depth for the variety, rather than a shallow decorative tray.
Keep it on a stable surface where you can reach the base of each plant.
- Sow or plant at the spacing recommended for your chosen variety.
- Thin crowded seedlings so the stems have room to develop.
Pick according to what you need. Snip a few green leaves for a garnish, leaving growth behind, or lift whole plants for their white bases. Repeated cutting depends on healthy growth, so give the patch time to recover.

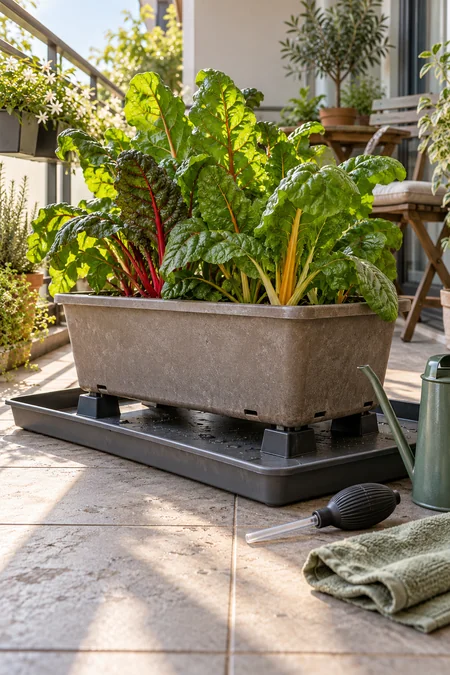
13. Use a Self-Watering Planter for Thirsty Crops
A small pot can be damp at breakfast and dry by late afternoon on an exposed balcony. A self-watering planter adds a reservoir beneath the growing mix, which can help reduce those swings.
Choose a design with a working overflow and follow its instructions for filling and potting mix.
- Water newly planted roots from above until they establish, as the planter maker directs.
- Check the reservoir regularly during hot or windy weather.
Count the filled weight. Water, wet mix, and mature plants all add to the load. Leave the overflow clear, and remember that a reservoir reduces watering work without removing the need to check plants.

14. Group Pots by How Quickly Their Soil Dries
Two containers sitting beside each other may need water on different days. Pot material, root growth, wind, sun, and the amount of mix all affect how quickly moisture disappears.
After checking your pots over several days, group those with similar watering needs where light conditions allow.
- Keep the faster-drying group easy to reach during quick morning checks.
- Check slower-drying containers separately before adding more water.
Use the grouping as a reminder. It isn’t a fixed watering schedule. A growing tomato may start using much more water, while a recently harvested lettuce planter may stay damp longer than it did before.

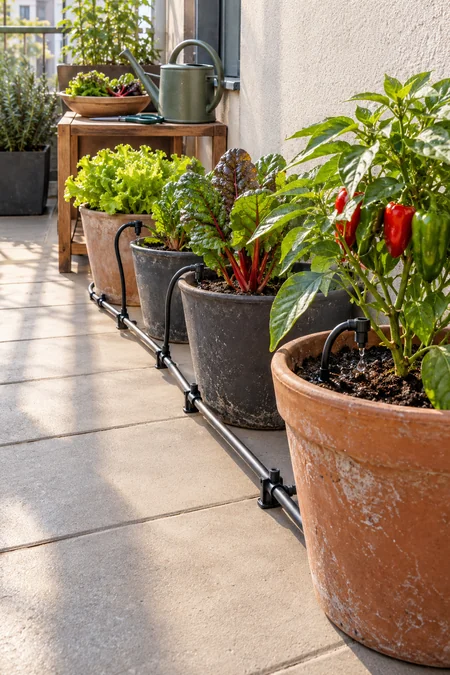
15. Run Drip Tubing Along the Wall to Each Container
Carrying a watering can around a crowded balcony gets tiring, especially when thirsty plants need frequent attention. A small drip system can deliver water to the mix while keeping the main tubing beside the wall.
Choose a system suited to your available water supply and the product’s pressure requirements.
- Secure tubing away from the walking route and door track.
- Position emitters so water reaches the root zone rather than running down the pot’s edge.
Test every container before relying on it. Watch a full watering cycle and check moisture beneath the surface afterward. Adjust individual flow or emitter placement where needed, then recheck as plants grow.
16. Add a Thin Mulch Layer to Exposed Potting Mix
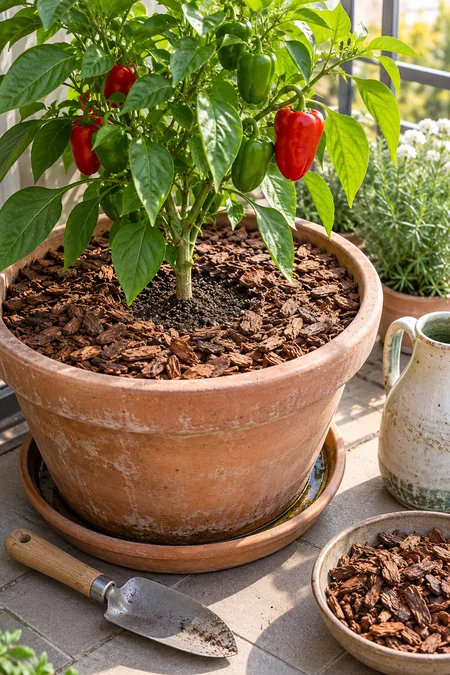
Bare potting mix takes the full force of sun and moving air. A thin layer of suitable mulch can slow surface drying, especially in roomy containers where soil remains exposed between plants.
Apply it after watering, leaving space around stems and keeping drainage openings clear.
- Choose clean mulch suitable for vegetable containers.
- Avoid loose, lightweight material that repeatedly blows into the walking lane.
Check beneath the covering. Mulch can hide dry mix just as easily as damp mix. Move a little aside when checking moisture, and leave newly sown areas uncovered so small seedlings can emerge without obstruction.
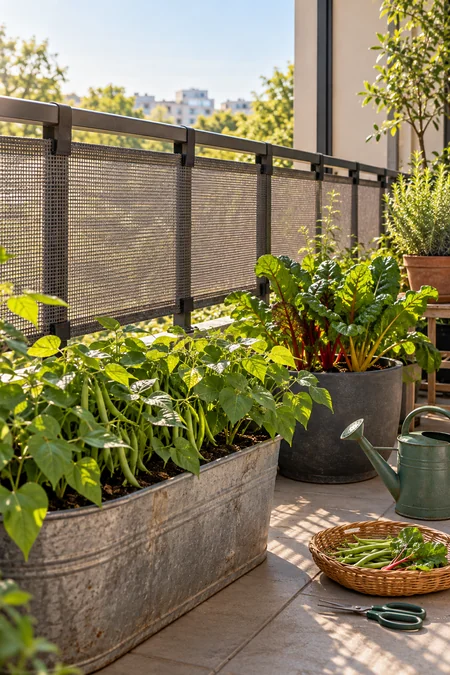
17. Filter Strong Wind With a Permeable Screen
A solid panel can catch gusts like a sail. Where your building permits one, a purpose-made permeable screen may soften wind while allowing some air to pass through.
Choose a product intended for the exposure and use its specified fixings. Keep the screen within permitted dimensions and clear of required openings.
- Check how much shade it casts before placing vegetables behind it.
- Inspect fastenings and fabric after windy weather.
Keep expectations realistic. A screen won’t make every exposed balcony suitable for tall crops. If gusts still bend stems sharply or shift containers, choose lower plants and move vulnerable pots to a more sheltered position.
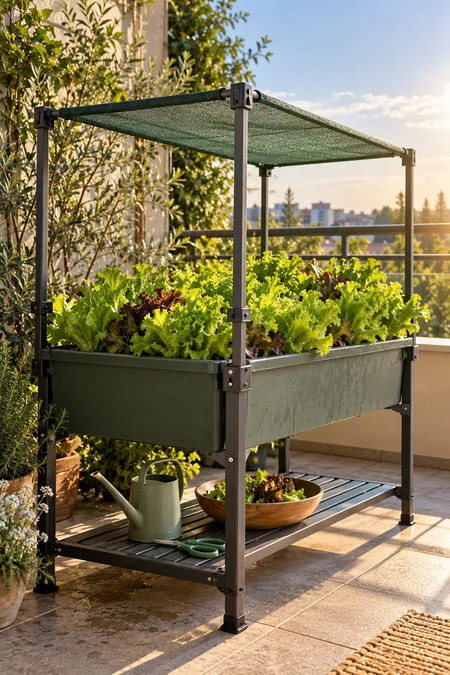
18. Shade Leafy Greens During Harsh Afternoon Heat
Lettuce that looks comfortable in the morning may struggle when afternoon sun reaches a hot balcony wall. Temporary shade can reduce that exposure without moving the entire garden.
Start with an existing shaded position if one is available. Otherwise, use properly secured horticultural shade cloth where your building permits it.
- Keep the cloth above the leaves with open space for airflow.
- Preserve useful morning light rather than shading the plants all day.
Check moisture before blaming the sun. Wilting can have several causes. Inspect the mix and watch how plants recover as conditions cool. Shade can help with heat, but it won’t correct waterlogged roots.
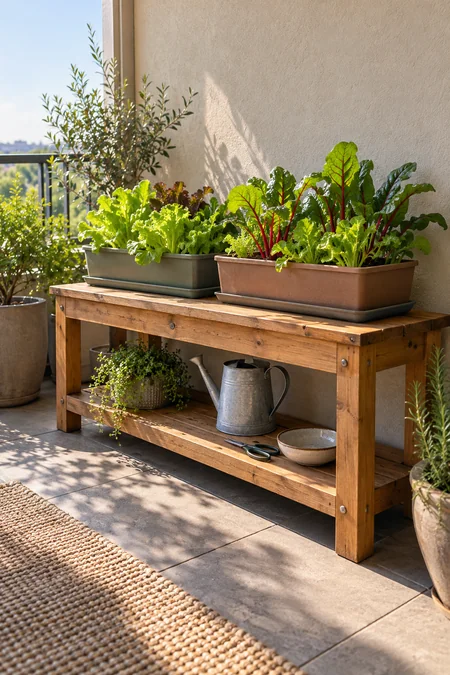
19. Raise Small Leafy Crops on a Low, Stable Plant Stand
A solid balcony panel can shade a planter sitting directly on the floor. A low stand may lift small leafy crops into better light while making soil checks easier.
Watch the light at the proposed shelf height before buying a stand. Raising a pot won’t help if the balcony above still blocks the sun.
- Choose a broad, weather-resistant stand rated for the filled containers.
- Keep heavier pots low and every planter fully supported.
Leave room for drainage care. Trays must remain reachable for emptying. Avoid narrow towers, overhanging troughs, and stands that give climbing access to the railing where children may visit.
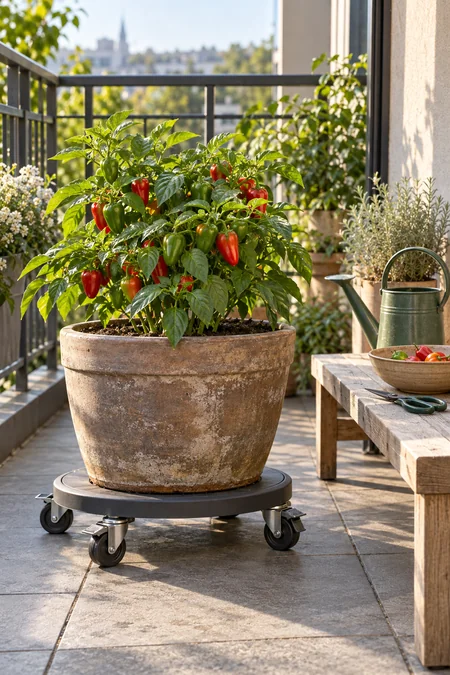
20. Move Selected Pots With Lockable Plant Caddies
A heavy container is awkward to shift when seasonal shadows change. A suitable plant caddy lets you reposition selected pots without dragging their bases across the balcony floor.
Choose one rated for the container’s full wet weight, with a wide support surface and reliable wheel locks.
- Use it on a level surface where wheels roll smoothly.
- Keep the pot centered, with its base properly supported.
Check what moves with the plant. A vine attached to a fixed trellis cannot roll away freely. Disconnect irrigation tubing where needed, clear the route, and lock the wheels again once the container reaches its new position.
21. Catch Drainage Without Leaving Pots in Standing Water
Water dripping onto the balcony below can turn a quick watering session into a neighbor problem. Fit containers with accessible trays that catch runoff without blocking the pots’ drainage holes.
Water slowly so the mix has time to absorb moisture, then check what collects beneath each pot.
- Empty excess water rather than leaving the container base submerged.
- Recheck trays after rain, even when you haven’t watered.
Keep the drainage route visible. Leaves and spilled mix can hide an overflowing tray. If a filled container is too heavy to lift, choose a collection setup you can empty without moving the pot.
22. Replace Finished Crops With Ready-to-Plant Seedlings
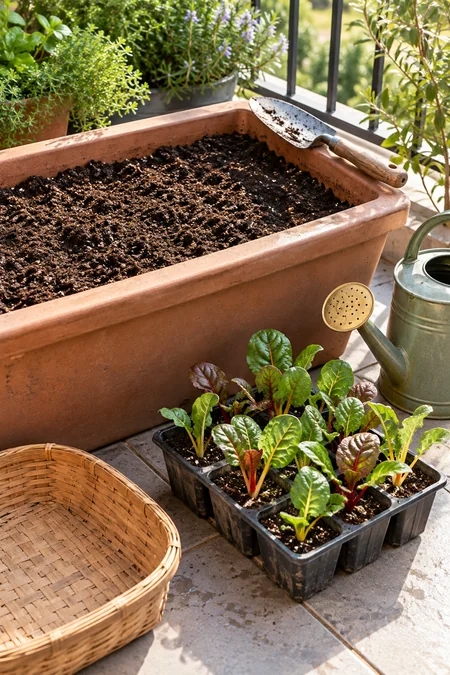
An empty planter can sit unused while you wait for the next seeds to sprout. Start a small replacement batch in advance, or buy healthy young plants when the next growing season approaches.
Choose replacements that suit the weather ahead rather than repeating a crop that struggled in heat.
- Check the finished plants for pests and disease before reusing their mix.
- Help indoor-grown seedlings adjust gradually to outdoor light and wind.
Keep the waiting area small. A tray of oversized, tangled seedlings creates another balcony problem. Time replacements to the space becoming available, and plant them before their roots become badly crowded.
You don’t need to fit every crop or clever setup onto one balcony. Start with the light you have, a clear walking route, and a few containers you can comfortably water. Notice which plants cope with the wind, which pots dry first, and what you actually enjoy picking.
The most useful balcony vegetable garden ideas are the ones that make daily care manageable. A reachable lettuce trough or a well-supported pepper can earn its space without crowding out your chair. Build gradually, adjust with the seasons, and leave room to learn.
Save this list on Pinterest for your next balcony planting day.