

Buying a whole bunch of herbs for a few leaves often ends with a wilted bag in the fridge. Growing your own sounds handy, until the basil gets leggy, the windowsill feels crowded, or watering leaves a puddle beside the toaster. A useful kitchen herb garden needs more than a row of pretty pots.
These indoor herb garden ideas focus on herbs you actually cook with and setups that fit everyday life. Think chives for scrambled eggs, parsley for soup, and basil for a quick tomato salad. The aim is to keep small harvests within reach while giving each plant enough light, growing room, and proper drainage.
You do not need to fill every sunny spot at once. Start with a few herbs you use often, then choose a windowsill, shelf, or counter setup that suits your space. Where window light falls short, a suitable grow light can help.
The following ideas cover practical places to grow, ways to protect your surfaces, and simple planting choices that make regular snipping easier.
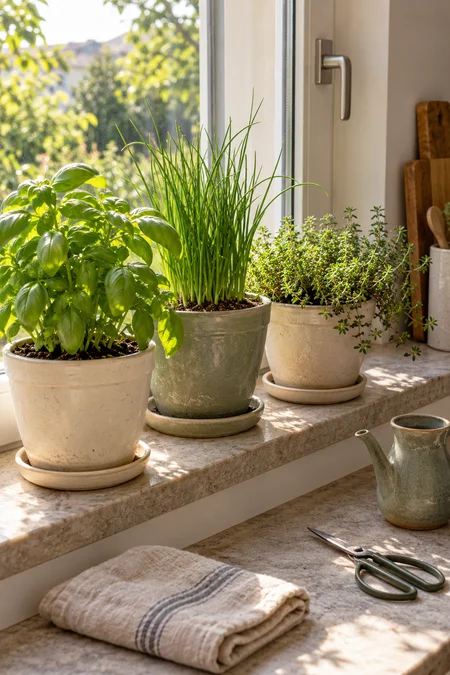
Indoor herb garden ideas: start a sunny windowsill garden with herbs you already use
Check your usual meals before choosing plants. Basil for tomato dishes, chives for eggs, and thyme for roasted vegetables make a useful starting group if those flavors already show up in your cooking.
Set each herb in its own draining pot on a stable, sunny sill. Separate pots let you water each plant as needed, since thyme prefers to dry more between waterings than basil.
- Leave space between pots so leaves are not pressed together.
- Keep foliage away from hot or cold window glass.
- Empty saucers after watering.
Start small enough that you can still reach the window handle.
🌿 Match the herb to your meals
Basil
Pick this if tomato salads, pasta, and sandwiches are regular meals.
Chives
Choose these for baked potatoes, omelets, and creamy dressings.
Thyme
Grow this for roasted vegetables, beans, and savory pan sauces.
2. Turn a Small Shelf into a Grow-Light Herb Station
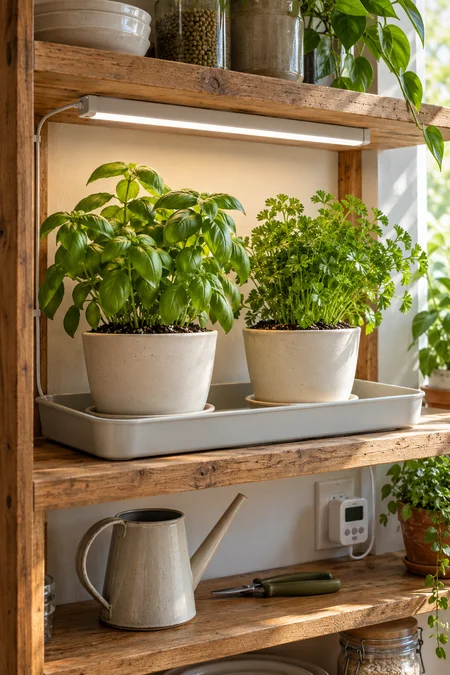
A spare shelf can hold a working herb garden when your kitchen window gets too little sun. Fit a white-light grow bar beneath the shelf above, with the plants on a waterproof tray below.
Choose a light intended for growing plants and follow its guidance for distance and daily running time. Leave enough headroom to adjust the light as the herbs grow.
Keep the setup easy to use:
- Place the herbs you snip often near the front.
- Leave room to lift each pot out for watering.
- Route cords away from the tray and wet surfaces.
A timer makes the lighting routine easier to keep consistent.
💡 Check the edges of the light
The whole group needs useful light coverage. If outer pots sit beyond the grow bar’s recommended growing area, bring them inward or use a fixture that covers the shelf. Room lighting alone may not support steady herb growth.
3. Give Mint Its Own Pot for Tea and Quick Garnishes
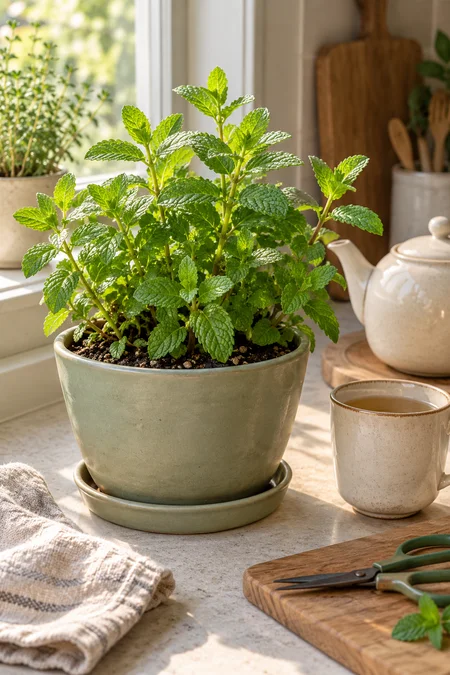
Mint earns its space if you regularly add fresh leaves to tea, yogurt sauces, or cold drinks. Give it a separate pot so its spreading growth does not crowd neighboring herbs.
Choose a bright growing spot with enough light to keep stems sturdy. A dim corner beside the kettle may be convenient, but it is not a good permanent home.
Use this simple routine:
- Check the potting mix before watering.
- Snip small stem tips rather than stripping every leaf.
- Leave plenty of healthy growth after each harvest.
Keep the pot clear of appliance heat and steam, even if that means placing it farther along the counter.
✅ Give roots their own space
Use a separate draining pot. You can move, water, or repot the mint without disturbing another herb.
📌 Group the display, not the roots
Mint can stand beside other potted herbs on a wide tray. Keep their containers separate and leave room to check each one.
4. Use Removable Inner Pots to Make Watering Less Messy
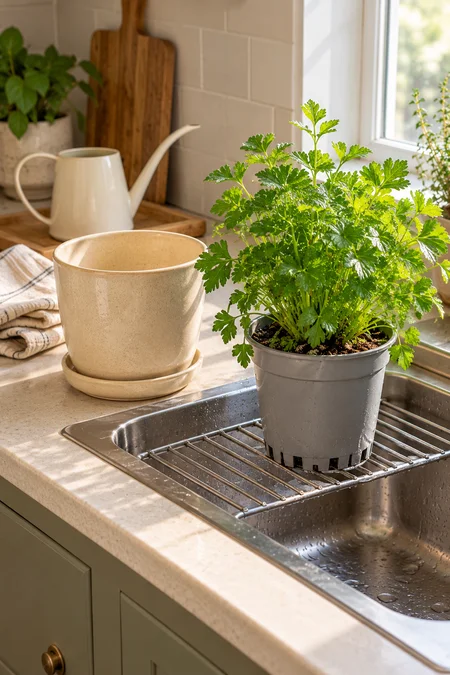
A decorative outer pot can suit your kitchen while a removable inner pot handles drainage. This works well on counters or furniture where stray water is easy to miss.
Choose an outer container that lets you lift the planted inner pot out without tugging on the stems. The inner pot needs drainage holes, and the outer pot should be watertight.
For each watering:
- Take the inner pot to the sink.
- Water the mix and let excess water drain.
- Return it only after checking that the outer pot is empty.
Keep this arrangement in a suitable bright spot. A prettier container cannot make up for weak light.
🪴 Check the fit before planting
- The inner pot lifts out easily by its rim.
- The outer pot stays stable with the plant inside.
- The inner pot is large enough for the roots, not squeezed into a tiny cover.
- The bottom of the outer pot is easy to inspect and wipe dry.
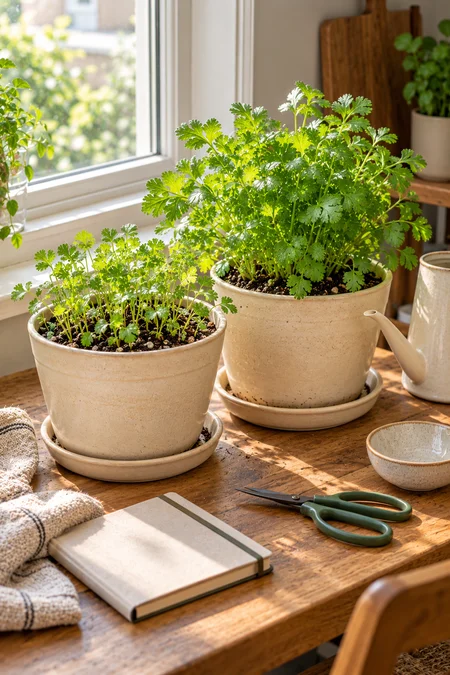
5. Sow Cilantro in Small Batches for a Longer Picking Window
One cilantro pot can give you leaves for a while, then send up a flower stalk as it matures. Instead of expecting that same plant to keep supplying dinner, start small batches at different times.
Use separate draining pots with enough depth for root growth. Sow the next batch while the earlier one is still leafy, and keep the plants in strong light away from hot appliances.
Make the space earn its keep:
- Keep a younger pot beside the one you are harvesting.
- Thin crowded seedlings so the remaining plants have room.
- Expect gaps if you cook with large handfuls.
Small pots are better suited to garnishes than a steady supply for big recipes.
🌱 Plan for different stages
Young seedlings
Let them establish. Keep the sowing mix from drying out completely while seeds germinate.
Leafy plants
Pick outer leaves lightly and leave the growing center intact.
Flowering plants
Shift leaf harvests to the younger batch. Cutting the flower stalk will not restore the earlier leafy stage.
6. Park a Small Herb Cart Beside Your Brightest Window
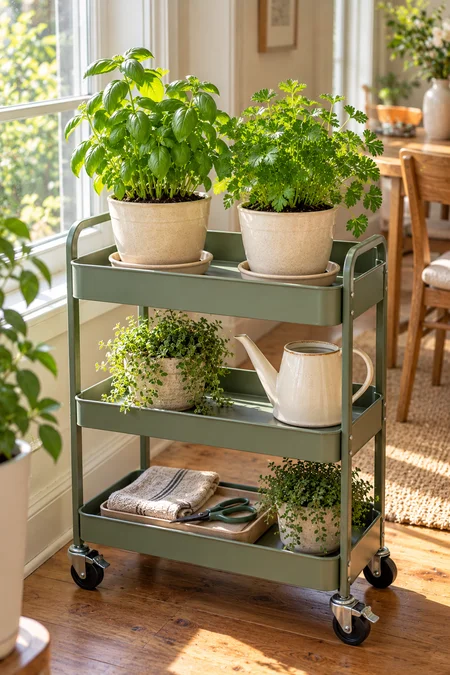
The best growing spot is not always beside the chopping board. A narrow plant cart lets you use a bright dining nook or kitchen window while keeping the herbs together.
Choose a sturdy cart with locking wheels and a waterproof tray. Keep leafy plants on the top level where they receive light, with watering supplies below.
Before filling it, check that:
- The cart leaves doors and walking routes clear.
- Each pot can drain into its own removable saucer.
- The wheels lock firmly on a level floor.
Park it where the plants can grow consistently. Rolling herbs into a dark kitchen for most of the day defeats the purpose.
🛒 Check the cart before adding pots
- The top tray supports the full base of every pot.
- The frame feels stable with watered containers in place.
- Leaves stay clear of curtains, radiators, and window glass.
- The lower shelf holds supplies without blocking access to the wheel brakes.
7. Pair Thyme and Oregano in a Sunny Cooking Trough
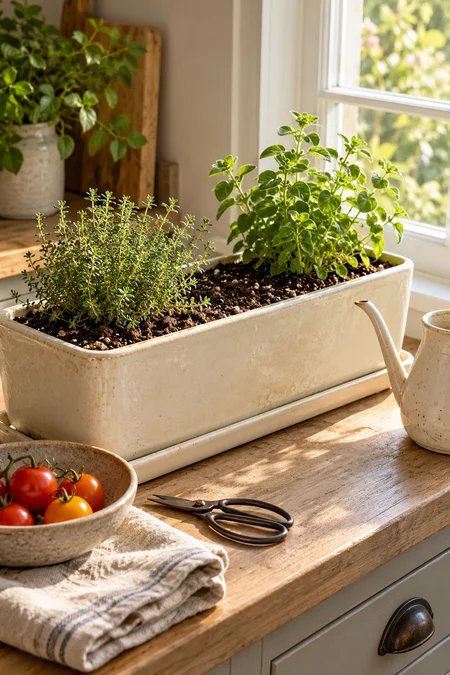
Thyme and oregano make a useful pair for roasted vegetables, pizza sauce, and bean dishes. Their preference for strong light and a mix that dries somewhat between waterings makes them easier companions than herbs with very different needs.
Choose a broad draining trough and start with small plants, leaving room between them. Use container potting mix and set the planter in your sunniest suitable spot, adding a grow light if needed.
Keep the planting modest. An empty patch of soil between young plants gives them room to spread.
Trim oregano as it grows so it does not shade the lower thyme. Divide or repot when the trough becomes crowded.
🌿 A shared trough
Suits herbs with similar light and watering needs. Check the mix around both plants before watering the whole container.
🪴 Separate pots
Make it easier to manage plants that dry at different rates. Use this option if one herb repeatedly needs water before the other.
8. Root Basil Cuttings to Grow Replacement Plants
A healthy basil plant can provide cuttings for another pot. This is useful when you want to replace an aging plant or keep a favorite basil growing without starting every batch from seed.
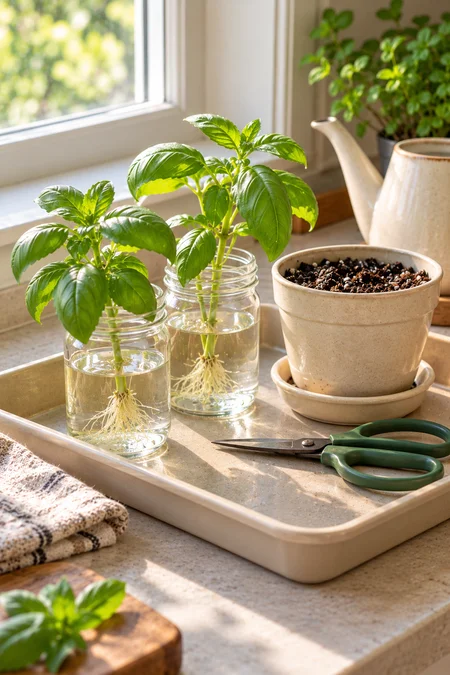
Take a healthy, nonflowering stem cutting just below a leaf joint. Remove the lower leaves, then place the bare lower stem in clean water with the remaining leaves above the surface.
Keep the jar in bright, indirect light while roots form. Change the water regularly and whenever it becomes cloudy.
Once a small root system develops, move the cutting into a draining pot of moist potting mix. Let the new plant establish before harvesting.
🌱 Make the move from water to mix
- Prepare a small draining pot before removing the rooted cutting from its jar.
- Make a planting hole so the delicate roots fit without being forced into dry mix.
- Water gently to settle the mix, then let excess water drain.
- Watch for fresh growth before taking leaves for cooking.
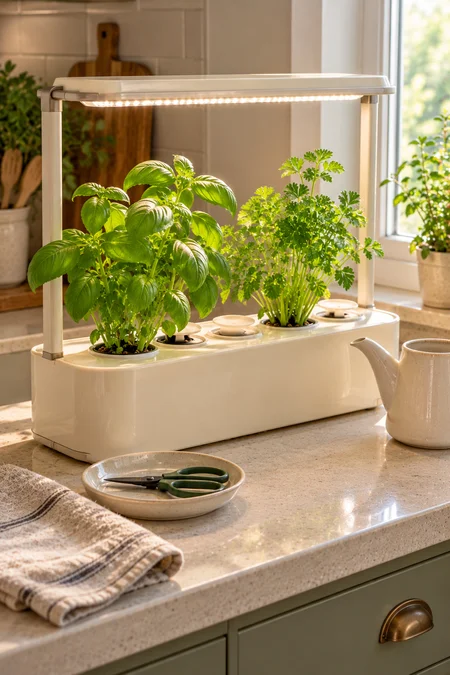
9. Use a Compact Hydroponic Unit Where Window Space Is Limited
A countertop hydroponic garden gives herbs their own light and water reservoir. It can suit a kitchen with little usable window space, provided you have room for the unit and its care routine.
Choose a model with an adjustable light and a reservoir you can reach for filling and cleaning. Start with a modest planting rather than crowding every opening.
Follow the unit’s instructions for nutrients, water levels, and cleaning. Cover unused openings with the supplied caps to limit light reaching the water.
Allow space above the plants. Basil can grow taller than nearby herbs, so regular pruning helps keep the light useful across the group.
💡 Check what fits your kitchen
Growing space
Check the unit’s height with its light fully raised, especially beneath cabinets.
Daily comfort
Consider where the bright light will shine and whether pump noise would bother you.
Easy upkeep
Leave enough counter space to open the reservoir and remove parts for cleaning.
10. Split an Overcrowded Chive Pot into Two Useful Clumps
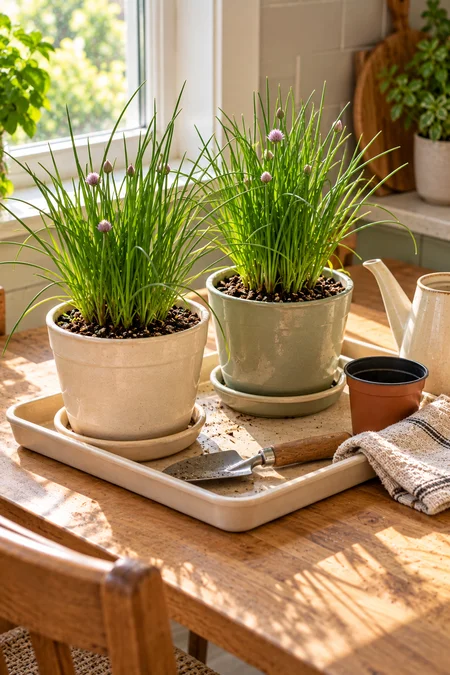
A chive pot packed tightly with roots may need more room before it can keep supplying fresh leaves. Dividing a healthy, established clump gives you smaller plants to grow on in separate containers.
Remove the clump from its pot and gently separate it into rooted sections. Replant each section at its previous depth in fresh container mix, using pots with drainage holes.
After dividing:
- Water to settle the mix, then drain thoroughly.
- Return the pots to suitable strong light.
- Wait for fresh growth before resuming light harvests.
Once both clumps are growing well, snip from whichever has more leaves to spare. Give a recently cut pot time to recover.
📌 Divide healthy plants, not struggling ones
Check a weak plant’s growing conditions first. Division will not fix poor light or damaged roots. When you do divide, keep a useful cluster of rooted shoots together rather than separating every tiny shoot.
11. Try a Self-Watering Pot for Thirsty Basil
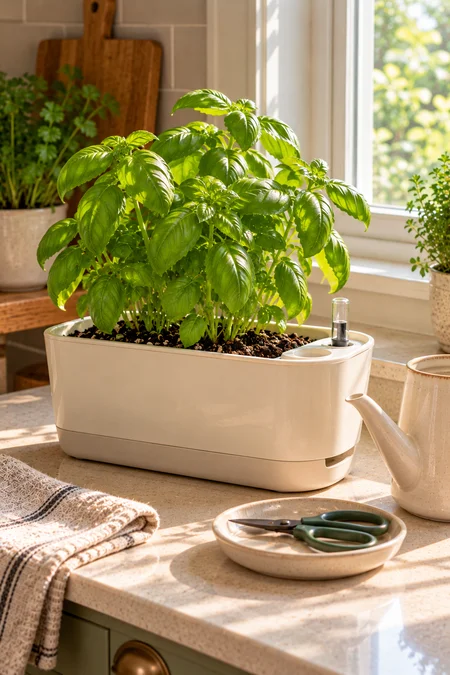
Basil can dry out quickly in a warm, bright kitchen, especially once its roots fill the pot. A self-watering container can make moisture easier to manage between checks.
Choose a purpose-built planter with an accessible reservoir, a water-level indicator, and instructions for indoor use. Plant in the recommended mix, and follow the setup directions while the roots establish.
Keep a simple checking routine:
- Feel the growing mix instead of relying only on the indicator.
- Check the reservoir regularly.
- Keep the filling opening clear of leaves.
If the mix stays soggy, investigate before adding more water. A reservoir should support healthy roots, not keep them constantly soaked.
🌿 Consider it when
Healthy basil repeatedly dries out between normal checks, even in a suitably sized pot.
📌 Check something else first
The plant wilts while its mix is still wet. More stored water will not solve a problem caused by persistently wet roots.
12. Raise Shorter Herbs to Share a Grow Light More Evenly
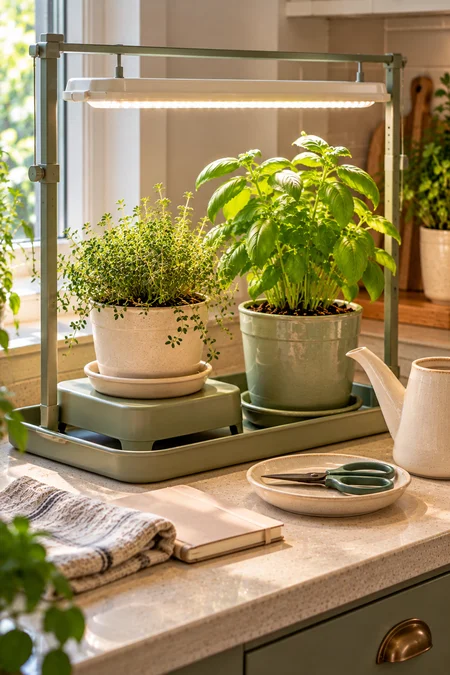
A low thyme plant can sit far below the light while taller basil grows close to it. Raising the shorter pot helps bring both leafy tops into the fixture’s recommended growing range.
Use a broad, stable, water-resistant riser that supports the entire pot and saucer. Avoid narrow stacks of books or loose upside-down dishes.
Arrange the plants with these checks in mind:
- Short herbs sit where taller leaves will not shade them.
- Every pot remains easy to remove.
- The riser cannot slide when you check the soil.
Recheck the arrangement as plants grow. The goal is useful light across the group, not matching heights for appearance alone.
💡 Check distance at the leaves
Measure the light’s recommended distance from the leafy tops, not the shelf or pot rim. Raising a pot changes that distance, so check again before leaving the setup in place.
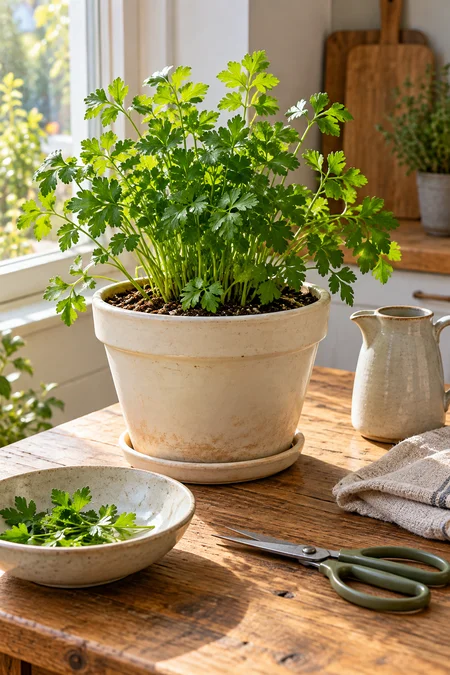
13. Give Flat-Leaf Parsley a Deeper Pot for Everyday Garnishes
Parsley often earns more kitchen use than a less familiar herb. A few stems can finish soup, brighten a grain bowl, or add freshness to roasted potatoes.
Choose a draining pot with room for its roots rather than squeezing the plant into a tiny decorative cup. Use fresh container mix and a bright growing position, with extra light if window conditions are weak.
Harvest from the outside. Cut mature outer leaf stalks near their base and leave the central growing point intact.
Let young plants build up before picking regularly. One modest indoor pot can provide small garnishes, but a parsley-heavy salad may need more than it can spare.
🌿 Match the harvest to the plant
Young plant
Let it establish and produce fresh leaves before expecting regular kitchen harvests.
Growing well
Take a few mature outer stalks while leaving plenty of foliage behind.
Sparse growth
Pause picking and check light, moisture, and root space before taking more.
14. Grow a Small Tray of Basil Microgreens for Finishing Meals
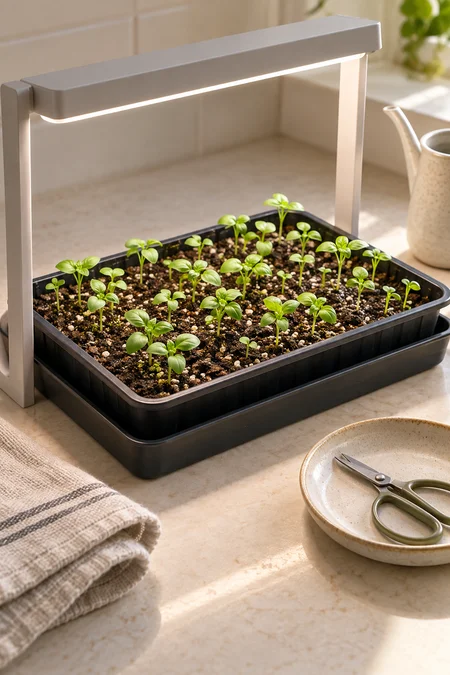
For tender leaves to scatter over sandwiches or tomato toast, a small tray of basil microgreens offers a different kind of herb harvest. You grow young seedlings and cut them, rather than maintaining a mature bush.
Use seed sold for edible microgreen growing, a clean draining tray, and fresh seed-starting mix. Follow the seed supplier’s sowing guidance and provide suitable light once the seedlings emerge.
Keep the tray manageable:
- Water gently without leaving the mix waterlogged.
- Allow airflow around the seedlings.
- Harvest with clean scissors above the mix.
Treat each tray as a single crop. Start fresh for the next batch instead of expecting repeated harvests from the cut seedlings.
🌱 Reset the tray after harvesting
- Remove the spent roots and growing mix.
- Clean the tray and catch tray before sowing again.
- Refill with fresh mix rather than sowing over the old root mat.
- Keep the next batch small enough to use while the leaves are tender.
15. Keep a Separate Welcome Spot for New Herb Plants
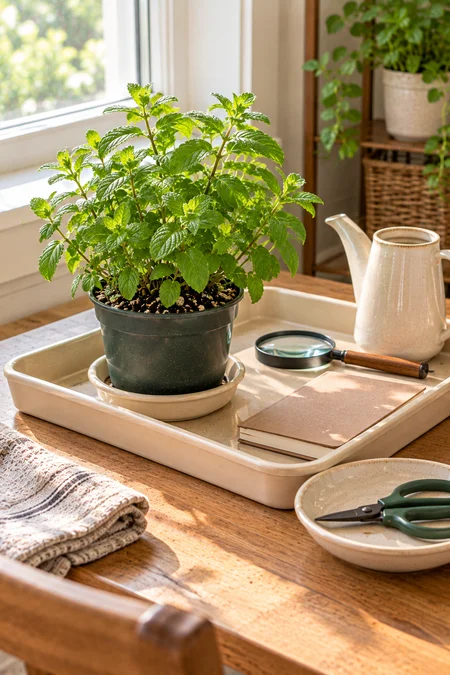
A new grocery-store herb pot can arrive with more than fresh leaves. Crowded roots, damaged stems, or small pests are easier to notice before the plant joins your main garden.
Reserve a separate bright spot with a washable tray for new arrivals. Keep it apart from established herbs while you inspect the leaves, stems, soil surface, and drainage.
Use the space to:
- Remove packaging that hides the pot or traps water.
- Check leaf undersides and new growth.
- Decide whether the plant needs a larger container.
Move it into the main group only after it appears healthy through repeated checks. This small pause can save trouble across several pots.
🔎 Keep it separate if you see
Fine webbing, sticky residue, moving insects, or unexplained leaf damage. Identify the problem before adding the plant to your collection.
🧼 Keep the welcome spot useful
Wash the tray between arrivals and clean tools after working on a suspect plant. Avoid letting its leaves touch established herbs.
16. Keep a Small Rosemary Plant for Roasting and Savory Dishes
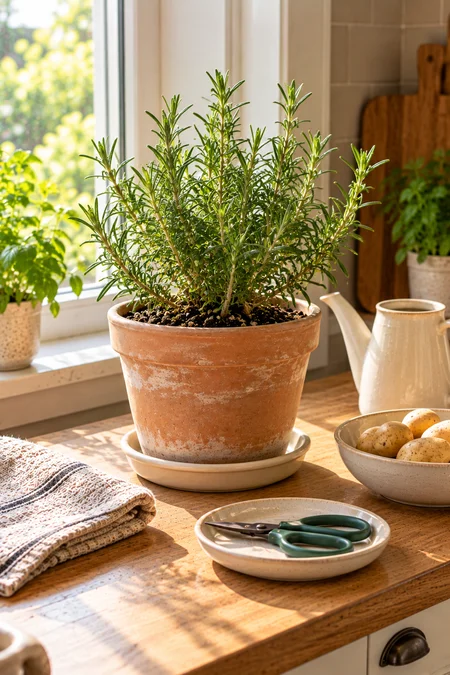
A small rosemary plant can supply fragrant tips for roasted potatoes, bean dishes, and bread. Give it your strongest available light, adding a suitable grow light if the window alone cannot support sturdy growth.
Choose a draining pot and a free-draining container mix. Check moisture before watering, allowing the upper mix to dry somewhat without leaving the whole root ball dry for long periods.
Harvest the soft green tips. Leave plenty of foliage and avoid cutting deeply into bare woody stems.
Keep the plant clear of oven heat and heating vents. Rosemary needs a good growing spot more than it needs to sit beside the roasting pan.
🌿 Keep rosemary on its own watering routine
Do not water it automatically whenever nearby basil needs a drink. Check its own mix and empty the saucer afterward. A pot that stays wet for a long time needs attention to drainage, light, or container size.
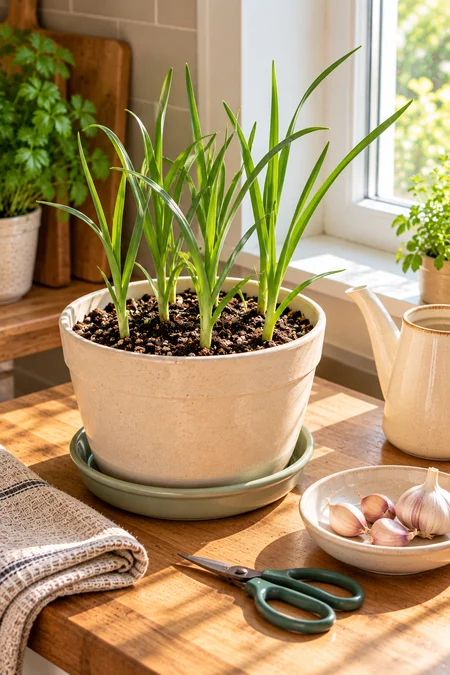
17. Grow Garlic Greens for a Mild Garlicky Garnish
Garlic greens give you another useful kitchen crop without waiting for a full bulb. The young shoots bring a mild garlic flavor to eggs, soups, and savory pancakes.
Plant firm, healthy garlic cloves with their papery skins intact in a draining pot of container mix. Set the pointed ends upward, just below the surface, and leave space between cloves. Choose garlic intended for edible growing, not cloves treated with products unsuitable for food crops.
Keep the pot in strong light and water without leaving the mix soggy.
Snip modest amounts once the shoots are established, leaving green growth behind. Expect a limited crop, and replace spent cloves when growth weakens.
🌱 Grow for the shoots
Kitchen use
Snip tender greens finely for a small savory garnish.
Growing goal
Treat this as a leafy crop. A small indoor pot is not a reliable setup for producing full garlic bulbs.
Fresh start
Use fresh cloves for another planting when the original crop stops producing useful growth.
Build a Herb Garden That Fits Your Cooking
The most useful indoor herb garden ideas start with what you like to eat and where your plants can grow well. A few healthy pots that supply small, regular harvests can be more rewarding than a crowded collection you struggle to maintain.
Choose one setup to begin with, give the herbs suitable light and drainage, and leave enough growth after each picking. Add another plant when you know you have room to care for it.
Save this list on Pinterest for the next time you want fresh herbs within reach of dinner.