

A balcony can look roomy until you add a chair, a watering can, and a few pots. Then the door catches a container, the sun disappears behind the next building, and wind pushes through the railing. If you’re wondering how to start a balcony garden without crowding your outdoor space, begin with a plan that fits the balcony you have.
This guide starts small: a few suitable plants, containers you can reach, and a clear place to walk. You’ll check the space before buying supplies, choose plants for its light and weather, and learn how to pot them up. Matching plants to the conditions helps you avoid fighting the same problems all season.
For a small balcony garden setup, budget about 2–3 hours of active work, excluding shopping. Spread the planning over a few days so you can observe the light. Plants coming from sheltered conditions may also need time to adjust before they stay outside.
You don’t need to fill every corner. By the end, you’ll have a modest planted garden and a care routine you can keep up with.
Your balcony garden at a glance
2–3 hours
Estimated for a few containers; shopping excluded.
A few days or longer
Allow time to observe sunlight and acclimate plants when needed.
Beginner
Start with a group you can reach and care for.
These are planning estimates for setup, not time to flowering or harvest. Building checks may take longer.
What you need
Plan first. Buy plants and containers after you know the balcony’s limits and growing conditions.
For planning and planting
- Building guidance on balcony use and permitted loads
- Tape measure or ruler
- Notebook and pencil, or a phone for notes
- Starter plants suited to the light and season
- Stable containers sized for those plants, with drainage holes
- Container potting mix
For watering and care
- Suitable saucers or trays where runoff must be collected
- Watering can or a manageable pouring jug
- Hand trowel or a dedicated potting scoop
- Gloves for handling potting mix; follow its package precautions
- Plant-appropriate fertilizer when feeding is needed
- Optional: small broom and a washable potting tray
Your 12-step plan
- Check your building’s balcony gardening rules.
- Observe your balcony’s sun and wind.
- Sketch a layout with room to move.
- Choose plants that suit your conditions.
- Match each plant to a suitable container.
- Gather your potting and watering supplies.
- Acclimate new plants to balcony conditions.
- Position your containers before filling them.
- Fill your containers with potting mix.
- Plant at the correct soil depth.
- Water your newly planted containers thoroughly.
- Build a routine for watering and plant checks.
How to start a balcony garden: check your building’s balcony gardening rules
Before buying pots, ask your landlord, building manager, or owners’ association what balcony gardening is allowed. Request guidance on permitted loads, attachments, runoff, and required access.
Wet potting mix adds weight along with the containers, plants, and water. A balcony’s appearance cannot tell you what it can support. If reliable load information is unavailable, ask how to obtain a qualified assessment before adding a garden. Don’t treat a general online weight limit as permission for your building. Weight considerations also apply to container depth and watering.
CHECK BEFORE YOU BUY
Get the building details first
Are containers allowed, and are there rules about where they can stand?
Account for wet containers alongside people, furniture, and other items.
Check drainage requirements and restrictions on railing or wall fittings.
Keep doors, required escape routes, and floor drains clear.
Heads up: A smaller pot or a spot beside a wall does not establish a safe load. Follow building-specific guidance.
Observe Your Balcony’s Sun and Wind
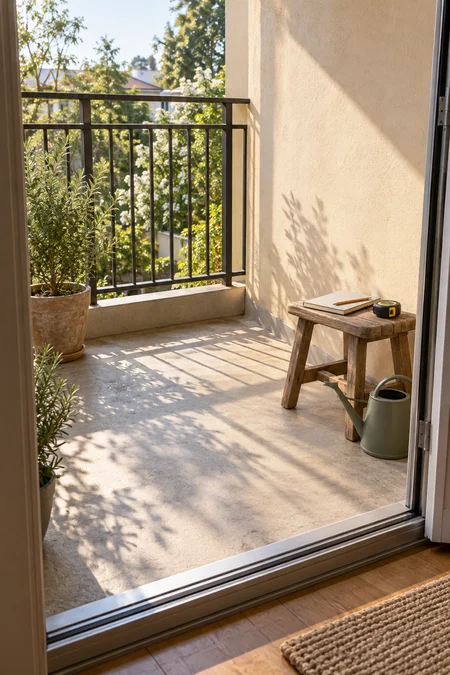
A bright balcony may receive little direct sun. On a mostly clear day, note when sunlight reaches and leaves each likely planting spot. Repeat on another day if possible.
Notice which areas catch gusts and which sit behind existing shelter. Sun and wind can limit balcony growing conditions. Record what happens where the plants will stand; neighboring buildings and overhangs can change the picture. Your notes describe this season, so revisit them as the sun’s path shifts.
Make a sun-and-wind note
Use a separate line in your notebook for each possible container position.
Record when sun reaches the spot and when shade returns. Add separate sunny periods together.
Note frequent gusts, exposed corners, and calmer areas behind existing shelter.
Record the date and weather. Recheck after seasonal changes or nearby construction.
Remember: Bright reflected daylight is not the same as hours of direct sunlight.

Sketch a Layout With Room to Move
Your door needs its full opening space, even after plants grow. Measure the usable floor and draw a rough rectangle on paper. Mark the door swing, floor drains, existing furniture, and a clear route through the balcony.
Add possible container footprints with room for mature foliage and watering access. Keep each pot reachable from inside the balcony. Leave placement flexible until you choose plants and pot sizes. A useful balcony garden for beginners should let you tend every plant without moving the whole arrangement.
Plan the space before the pots
Build your sketch around access. Add containers only where they fit.
- Mark fixed features: doors, drains, walls, and furniture that will stay.
- Reserve a clear route: allow for carrying a watering can and opening the door fully.
- Draw possible pot footprints: leave extra space for leaves at their mature size.
- Check reach: every container should be accessible without leaning over the railing.
Keep it flexible: An empty corner can stay empty. You can add plants later if the space and permitted load allow.
Choose Plants That Suit Your Conditions
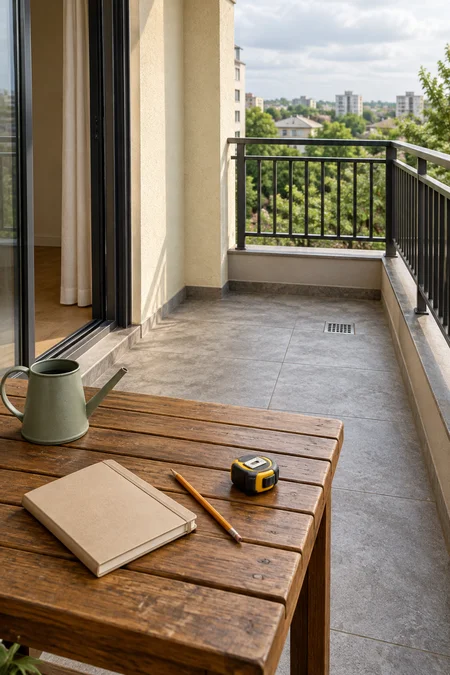
If your notes show only a few hours of direct sun, start with leafy crops suited to cooler weather, such as lettuce. Fruiting crops, including tomatoes and peppers, generally need 6–8 hours of direct sun.
Pick 3 plants to begin with, if your space allows. Check each variety’s mature width, light needs, and planting season. Choose short, compact growth for exposed spots, and buy healthy starter plants without visible pests. Light requirements vary by crop.
Match the plant to the balcony
Use your sun notes first. Check the season and mature size before buying.
Try leaf lettuce or spinach during suitable cool weather. Partial sun does not remove their need for the right temperatures.
Consider a compact tomato or pepper during warm weather, if its pot, mature growth, and support will fit.
Look for shade-tolerant ornamental plants suited to your climate. Do not count on a productive tomato plant in this spot.
Wind check: Low-growing plants are a better starting point for exposed spaces. No plant choice makes a severely windy position suitable without adequate shelter.

Match Each Plant to a Suitable Container
A nursery pot is a temporary home, so choose the next container for the plant’s expected growth. Compare its usable depth and capacity, not only its rim width. The examples below are practical starting points; a variety’s own guidance may call for more room.
For container gardening on a balcony, favor outdoor-rated pots with broad bases and drainage holes. Plastic or resin can reduce the container’s own weight, but the wet mix still counts. Include a fitted saucer where runoff must be collected, with space to reach and empty it. Container size should suit both roots and top growth.
Give roots enough room
These examples help you compare containers. Check the chosen variety’s needs before you buy.
| Plant | Practical starting size | Check before planting |
|---|---|---|
| One basil plant | 2–3 US gallons of growing space, about 8–11 liters | Choose a broad pot with room for the variety’s mature growth. |
| Leaf lettuce | A trough with about 8 inches (20 cm) of usable growing depth | Use the variety’s spacing to decide how many plants fit along its length. |
| One tomato plant | 8–10 US gallons, about 30–38 liters, with 12–16 inches (30–41 cm) of growing depth | Some dwarf varieties need less; larger plants may need more. Include room for suitable support. |
Drainage check: Choose pots with open drainage holes. A gravel layer does not replace holes or improve drainage.
If the right container exceeds the space or load your balcony allows, choose a smaller-growing plant. Do not force a large crop into a tiny pot.
Gather Your Potting and Watering Supplies
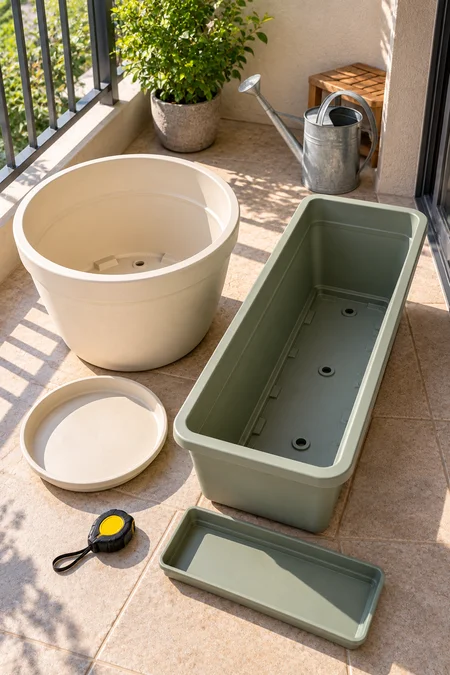
One small kit is enough: container potting mix, a scoop, gloves, a watering jug, and the trays your pots need. Choose a mix labeled for containers; garden soil alone can compact and leave too little air around the roots.
Check whether the mix already contains fertilizer before buying extra. Follow its feeding guidance. A dedicated household scoop can replace a trowel, and a jug works if you can pour slowly. Potting mixes provide a lighter, more porous growing medium than garden soil.
Build a compact potting kit
- Potting mix labeled for container plants
- Enough mix for the pots’ combined usable capacity
- Plant-appropriate fertilizer only as needed
- Hand trowel or dedicated scoop
- Gloves and a manageable watering jug
- A suitable support and soft ties if your chosen plant needs them
- Suitable catch trays and an optional washable work tray
Shopping example: Three pots holding 10 liters each need less than 30 liters of fresh mix once root balls and watering space are allowed for. A 30-liter bag is a reasonable starting purchase for that setup.
Read the mix’s handling directions. Keep dusty material away from your face and follow any protective-equipment instructions on the bag.

Acclimate New Plants to Balcony Conditions
Allow about 7–14 days for plants raised indoors or under cover to adjust outdoors. This gradual change is called hardening off. Ask the nursery how your plants have been grown; those already outdoors in similar conditions may need a shorter transition.
Begin with 1–2 hours in a bright, shaded spot protected from gusts, when temperatures suit the plant. Increase outdoor time gradually, adding gentle sunlight only as needed for that species. Bring tender plants back to protection before cold nights. Check small nursery pots often; do not let them wilt to toughen them up.
Ease plants into outdoor life
Use the plant’s response and the weather to set the pace.
Start with 1–2 hours in bright shade, away from strong wind. Return plants to protection afterward.
Over roughly 7–14 days, extend outdoor time. Introduce gentle morning sun for plants that need direct sunlight.
Work toward the light your plant will actually receive. Shade-loving plants do not need training to tolerate full sun.
Slow down if leaves scorch or wilt: Return the plant to shelter and check moisture before watering. Hardening off does not make tender plants frost-hardy.

Position Your Containers Before Filling Them
Once the pots are full of damp mix, rearranging them becomes harder. Set empty containers in the spots from your sketch, following the building’s load guidance.
Keep the door swing and floor drains clear. Leave space to reach the soil and remove catch trays. Check that each pot stands level, with its drainage openings unobstructed. Settle the layout before adding weight.
Check the layout with empty pots
Walk through the arrangement before you fill anything.
Open the door fully. Keep the walking route and any required escape route free.
Reach every pot from inside the balcony. Allow for mature leaves and access to saucers.
Choose level footing. If pot feet are needed to keep holes clear, use low, suitable supports that do not make the pot wobble.
Keep floor drains open. Where runoff must be caught, position suitable trays so collected water can be emptied.
Keep pots inside the railing: Do not balance containers on its top or improvise hanging supports.
Fill Your Containers With Potting Mix
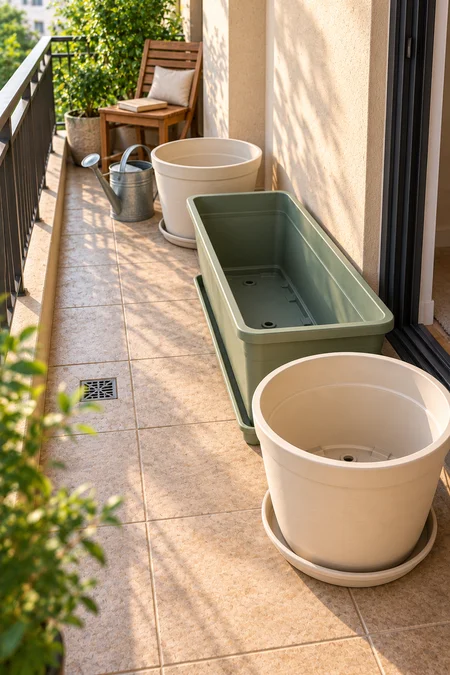
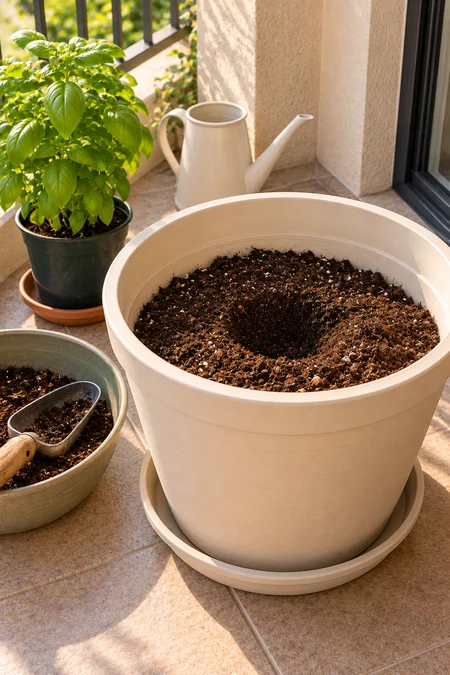
Dry mix can resist water, so dampen it before filling if needed. Aim for evenly moist, loose mix rather than a soggy paste.
- Scoop mix into the pot without pressing it down hard.
- Leave a space for the plant’s root ball.
- Allow about 1 inch (2.5 cm) between the finished soil surface and the rim.
That gap holds water briefly while it soaks in. Use potting mix through the growing depth; gravel or stones at the bottom take away root space and do not improve drainage.
Leave room for roots and watering
At the top: watering space
Aim for the finished soil surface to sit about 1 inch (2.5 cm) below the rim.
In the middle: loose potting mix
Leave a planting space for the root ball. Keep extra mix nearby for filling around it in the next step.
At the base: a clear drainage path
Do not plug drainage holes or add a layer of stones.
Stop before planting: Keep plants in their nursery pots for now. Adjust the planting space to fit each root ball in the next step.
Plant at the Correct Soil Depth
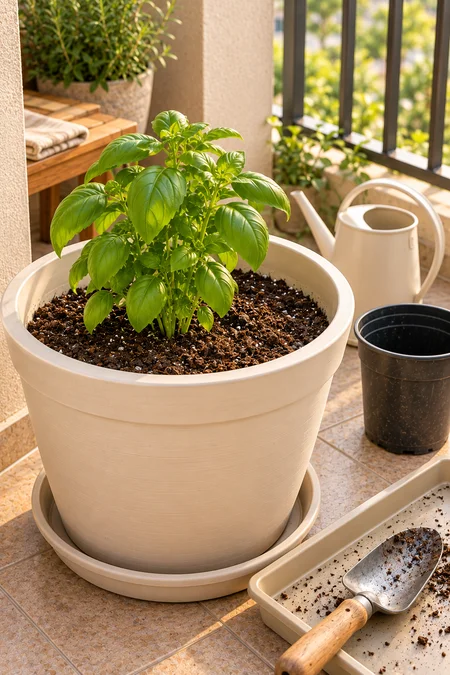
Choose a calm, mild part of the day, and start with a moist root ball. Support the plant at its base, squeeze the nursery pot, and slide it off without pulling the stem. Gently loosen tightly circling roots.
For most herbs and leafy greens, set the root ball’s top level with the surrounding mix. Adjust the mix underneath to get the height right. Fill around the roots and press lightly. Keep leaves above the soil and preserve the 1-inch (2.5 cm) watering gap. Follow the variety’s spacing, even when young plants look far apart.
Set the plant at the right height
For most herbs and leafy greens, keep the top of the root ball level with the new mix. Do not bury the center of a lettuce plant.
Keep about 1 inch (2.5 cm) between the soil surface and pot rim. Follow the plant’s mature spacing.
If the variety needs a stake or cage, fit a suitable support as you plant, avoiding the root ball. Follow the support’s installation instructions.
Tomatoes are an exception: Healthy tomato stems can form roots when buried. Follow tomato-specific planting guidance; do not apply this deeper planting method to every herb or vegetable.
Water Your Newly Planted Containers Thoroughly
A slow pour lets water soak into the mix without washing it over the edge. Aim at the soil around each plant, moving around the pot to wet it evenly.
For pots with drainage holes, continue until water begins draining below. Pause if water pools on top. Let excess water drain, then empty the saucer. The root ball and surrounding mix should both be moist.
Water slowly, then let the pot drain
- Wet the soil evenly. Use a gentle pour around the plant rather than a strong stream against its stem.
- Watch the drainage. Water should emerge from the holes. If the surface stays flooded and nothing drains, stop and check for a blockage.
- Check for settling. If roots become exposed, add a little mix around them while preserving the original planting depth.
- Empty collected runoff. Keep the pot out of standing water and prevent the catch tray from overflowing onto the balcony below.
A useful check: Water running straight down the sides can leave a dry center. If the root ball is still dry, reapply water slowly in small passes.
Build a Routine for Watering and Plant Checks
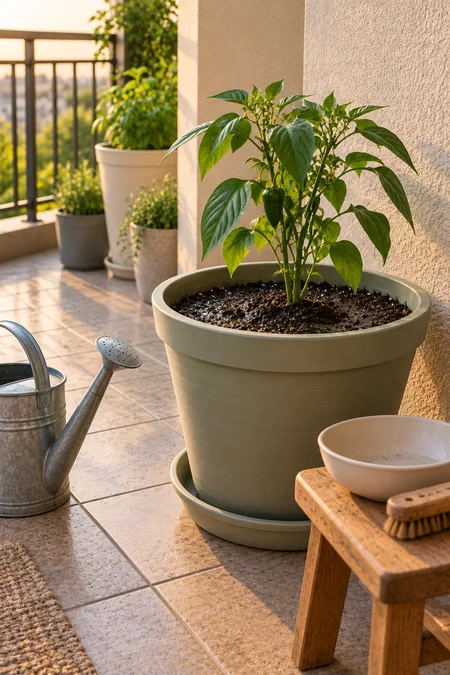
Make a morning check part of your day. Feel the mix about 1 inch (2.5 cm) below the surface, near the root ball, and water according to that plant’s needs. A dry surface alone does not mean the whole pot is dry.
Check again during hot or windy weather. While you’re there, look under leaves and around stems for pests or damage. Note feeding dates, following the fertilizer label and any feed already in the mix. Set reminders to inspect the garden, rather than to water every pot automatically.
Give your garden a repeatable care routine
| When | What to check |
|---|---|
| Each morning | Feel below the surface near the roots. Keep newly planted root balls from drying out, while allowing excess water to drain. |
| Hot or windy days | Recheck later in the day. Do not assume all pots dry at the same speed. |
| During regular checks | Look under leaves for insects, webbing, or fresh damage. Identify the cause before choosing a treatment. |
| When feeding is due | Follow the product’s dose and interval. Account for fertilizer already supplied in the potting mix. |
| Before rough weather | Bring manageable tender plants into suitable shelter before damaging cold or strong winds arrive. Keep access clear. |
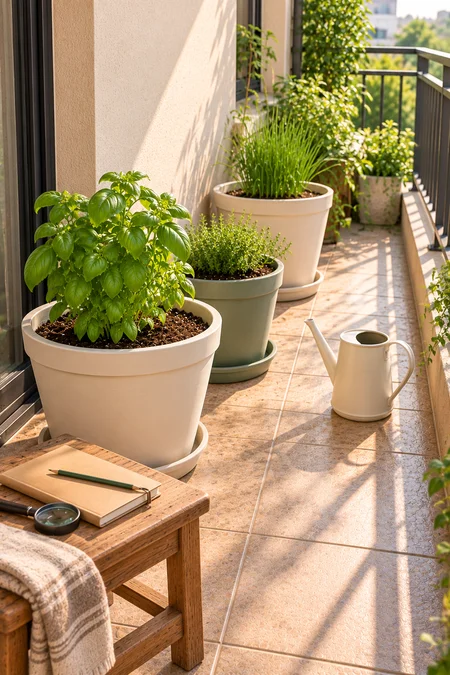
Match care to the plant: Lettuce and basil generally need steadier moisture than established thyme. Separate pots let you water each plant when it needs it.
Troubleshoot Common Balcony Garden Problems
A drooping leaf does not always mean a thirsty plant. Roots can struggle in mix that is too dry or too wet. Check moisture below the surface and look at drainage before adding more water. Wilting alone cannot tell you which problem you have.
Check the cause before you act
These are starting checks, not a diagnosis from appearance alone.
| If this happens | Try this |
|---|---|
| Leaves droop and the root ball feels dry | Water slowly across the soil surface until excess drains. Check that the root ball becomes moist, then empty collected runoff. |
| Leaves droop while the mix is still wet | Hold off on more water. Empty the saucer and check drainage holes. Persistent wilting in wet mix needs a closer check for root damage or disease. |
| Lower leaves turn yellow | Review watering, drainage, light, and feeding history. Look for pests too. Yellowing can have several causes, so do not add fertilizer based on leaf color alone. |
| Pale or crispy patches appear after a move into stronger sun | Return the plant to suitable shelter and slow its exposure to direct sun. Check moisture. Scorched areas will not turn green again; watch the new growth. |
| Water stays on the surface instead of draining | Stop pouring and check for blocked holes or a water-filled outer pot. If dense soil is the problem, repot into suitable container mix; adding gravel will not fix it. |
| New growth becomes long, pale, and weak | Compare the plant’s light needs with your sun notes. If light is insufficient, introduce a brighter position gradually or choose a plant suited to the available light. |
Keep a short note: Record when the problem appeared and what changed. If it keeps getting worse, take clear photos of the whole plant and affected leaves for a local plant clinic or extension service.
Balcony Garden FAQs
The best setup fits your actual light, weather, and space. These answers help you make those choices without buying more equipment than you need.
Answers for your first balcony garden
Can I grow vegetables on a partly shaded balcony?
Leaf lettuce and spinach can grow with about 3–5 hours of direct sun during suitable cool weather. Tomatoes and peppers generally need around 6–8 hours. With little or no direct sunlight, shade-tolerant ornamental plants are a more practical starting choice.
How often should I water balcony containers?
Check moisture daily, and again on hot or windy days, but water according to the plant and how damp its root area feels. Small pots can dry quickly, while larger pots may stay moist longer. Rain may not reach containers under an overhang.
Can I fill the pots with soil from the garden?
Use a mix labeled for container growing instead of garden soil alone. Garden soil can become too dense in a pot, reducing drainage and air around the roots. Check the bag for added fertilizer before planning extra feeding.
Can several herbs share one container?
Yes, if their light, moisture, and spacing needs match. Basil generally needs steadier moisture than established thyme, so separate pots make that pair simpler to manage. Allow room for each plant’s mature size, rather than filling every gap between young plants.
What can I do if my balcony is very windy?
Start with low-growing plants in stable, broad-based pots placed behind existing shelter. If more protection is needed, ask your building manager about permitted, professionally secured wind-filtering screens; do not attach loose fabric or panels to the railing. Keep plants out of a position where gusts repeatedly tip pots or tear stems.
When is the best time to start a balcony garden?
Start with plants suited to your local growing season. Lettuce and spinach favor cooler conditions, while basil, tomatoes, and peppers need warm conditions and protection from frost. Check a local planting calendar and the forecast, then acclimate new plants before leaving them outdoors.
Keep This Balcony Garden Quick Reference Handy
Your first balcony garden
A compact checklist for planning, planting, and everyday care.
About 2–3 hours for a few containers, excluding shopping.
Allow time for building checks and sun observations; sheltered-grown plants may need 7–14 days to acclimate.
A few suitable plants in containers that fit your space and permitted load.
What you need
- Building guidance, measuring tape, and a notebook or phone
- Starter plants suited to your light, season, and exposure
- Stable containers with drainage holes and suitable catch trays
- Container potting mix, a scoop or trowel, and gloves
- A watering can or manageable pouring jug
- Plant supports and appropriate fertilizer only where needed
Follow these 12 steps
- Check building rules: confirm permitted loads, runoff requirements, attachments, and access.
- Observe sun and wind: record conditions where the plants will stand.
- Sketch the layout: leave the doorway, walking route, and drains clear.
- Choose suitable plants: match their mature size, light needs, and growing season.
- Match plants to pots: allow enough root space and use stable, draining containers.
- Gather supplies: check whether your potting mix already contains fertilizer.
- Acclimate new plants: build outdoor exposure gradually when needed.
- Position empty pots: check stability, reach, and access to catch trays.
- Fill with potting mix: use loose, moist mix and leave room for root balls.
- Plant at the right depth: follow plant-specific guidance and spacing.
- Water thoroughly: moisten the root ball and surrounding mix, then empty runoff.
- Build a care routine: check moisture, leaves, feeding needs, and the forecast.
Leave watering space: Aim for about 1 inch (2.5 cm) between the finished soil surface and the pot rim.
Check before watering: Feel below the surface near the roots. Water according to each plant’s needs, not a fixed daily amount.
You now know how to start a balcony garden that fits your space, sunlight, and daily routine.
Keep this first group of plants manageable while you learn how each pot responds to the weather.
Over the next week, note which containers dry fastest and adjust your checks as needed.
Save this guide to your Pinterest gardening board so the steps are close by when you plant your next container.